


10 service categories · 100 service pages · Miami-Dade, Broward & Palm Beach
View all services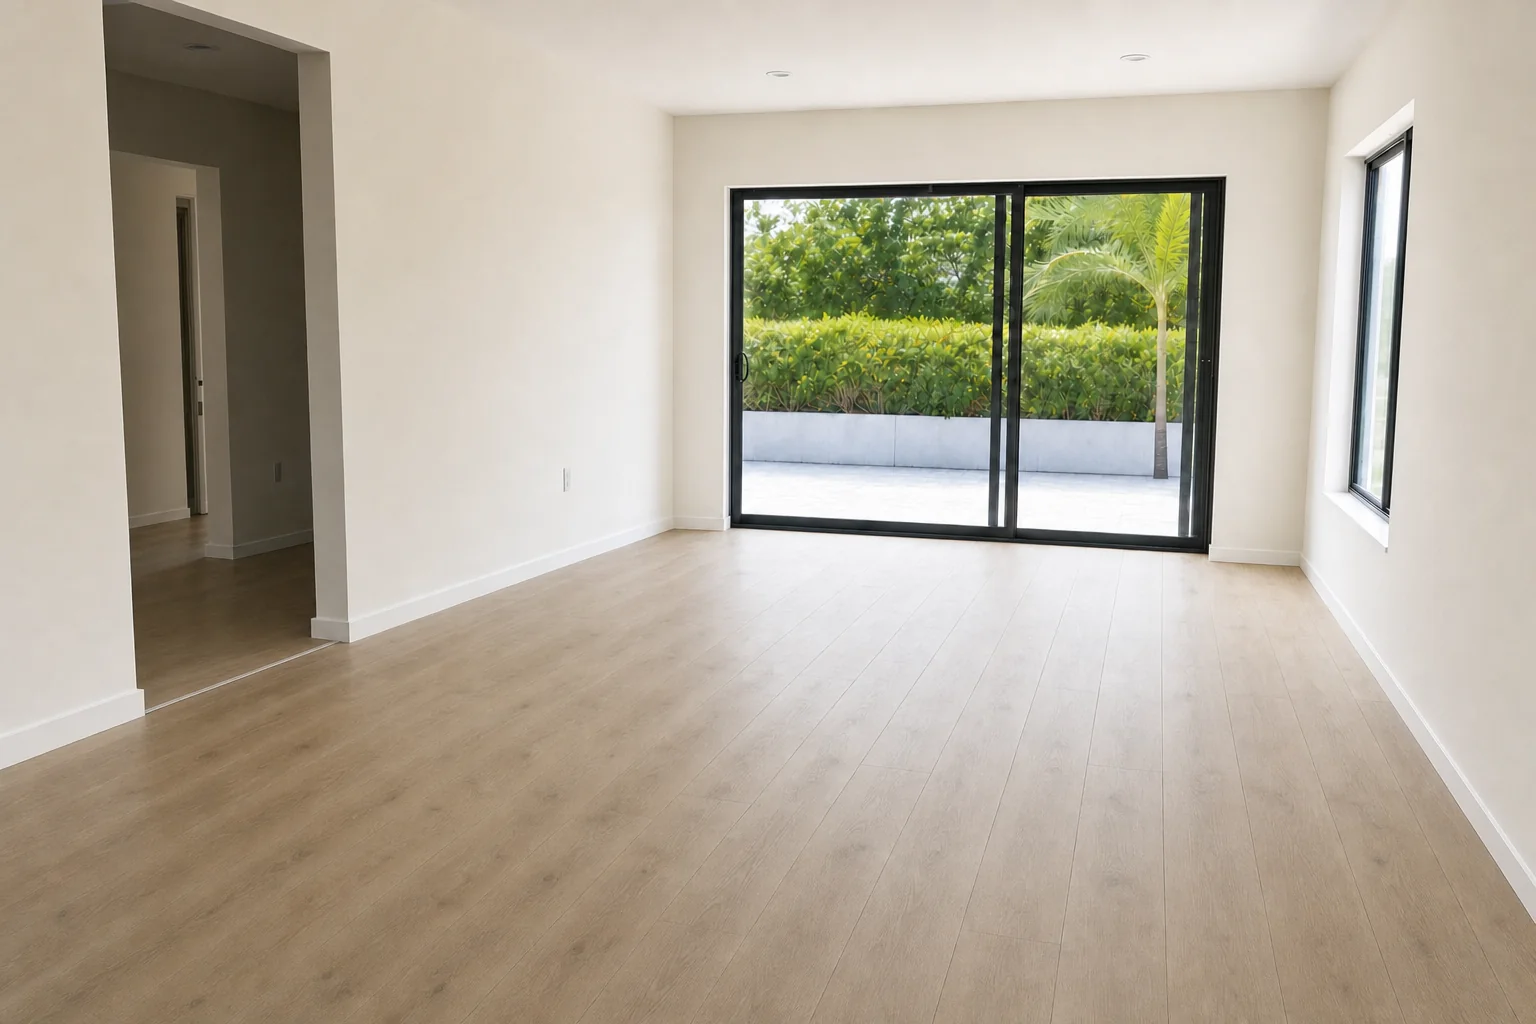
The floor fails
because of what was
under it.
Sometimes the job is not laying a new floor — it is getting everything beneath the old one into a condition new material can be trusted on. We test before we demolish, and we fix the slab before anyone lays anything.
- Licensed, bonded & insured · CBC1265280
- 104 municipalities across 3 counties
- Design-build: permitting & construction in-house
Miami-Dade · Broward & Palm Beach Counties
ScrollA discipline of its own, before any new floor.
Removal and subfloor repair is the work of taking up the existing floor, identifying what is actually underneath, and bringing the slab or subfloor to a condition where new material will last.
It is a standalone scope, and in older Miami-Dade and Broward homes it is rarely as simple as it looks. What comes up might be a sound slab, a thick mortar bed from a prior tile job, original terrazzo that was covered rather than removed, or mid-century vinyl tile over black cutback adhesive. Each of those is a different project. We test before demolishing rather than after, and we hand over a substrate that has been measured — not one that merely looks dry.
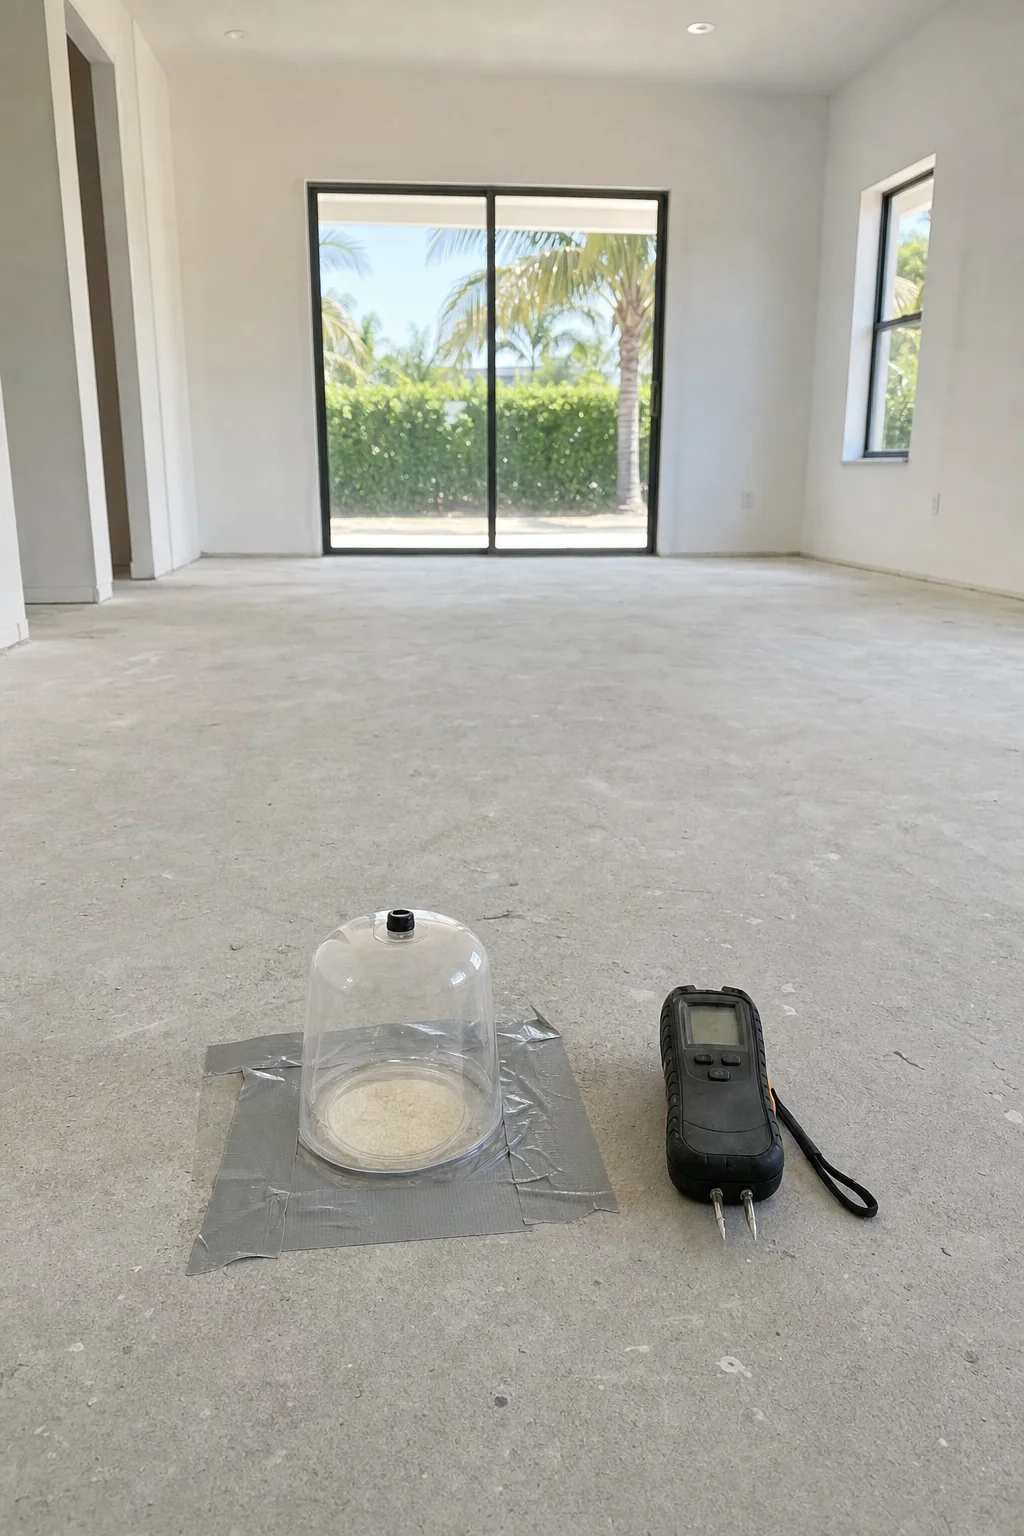
In-situ relative-humidity probes set at roughly 40% of slab depth and left to equilibrate — a reading from inside the slab, not off its surface.
Vinyl tile and black mastic from that era commonly contained asbestos. On pre-1980s homes we test before grinding or aggressive scraping.
Elbaz Construction holds the certified building contractor licence and coordinates licensed abatement where testing requires it.
What removal and repair actually covers.
Testing first, demolition second. That order is the whole point.
01Assessment and testingIdentifying the existing floor and what is likely beneath it, and testing suspect material before anything is disturbed.
On a pre-1980s home with original vinyl tile still down, a sample goes for testing before any grinding or aggressive scraping. Intact, undisturbed material is generally low risk; sanding it is not.
02Abatement coordinationWhere a sample returns positive, licensed abatement is brought in before our work continues.
This is not a step to work around or hurry. It changes sequencing and cost, and it is the reason testing happens before a schedule is promised.
03Protection and containmentDust control, protected routes and controlled debris removal, particularly in occupied homes and condo buildings.
Tile demolition generates a great deal of fine dust. Containment and extraction are part of the scope rather than an optional extra.
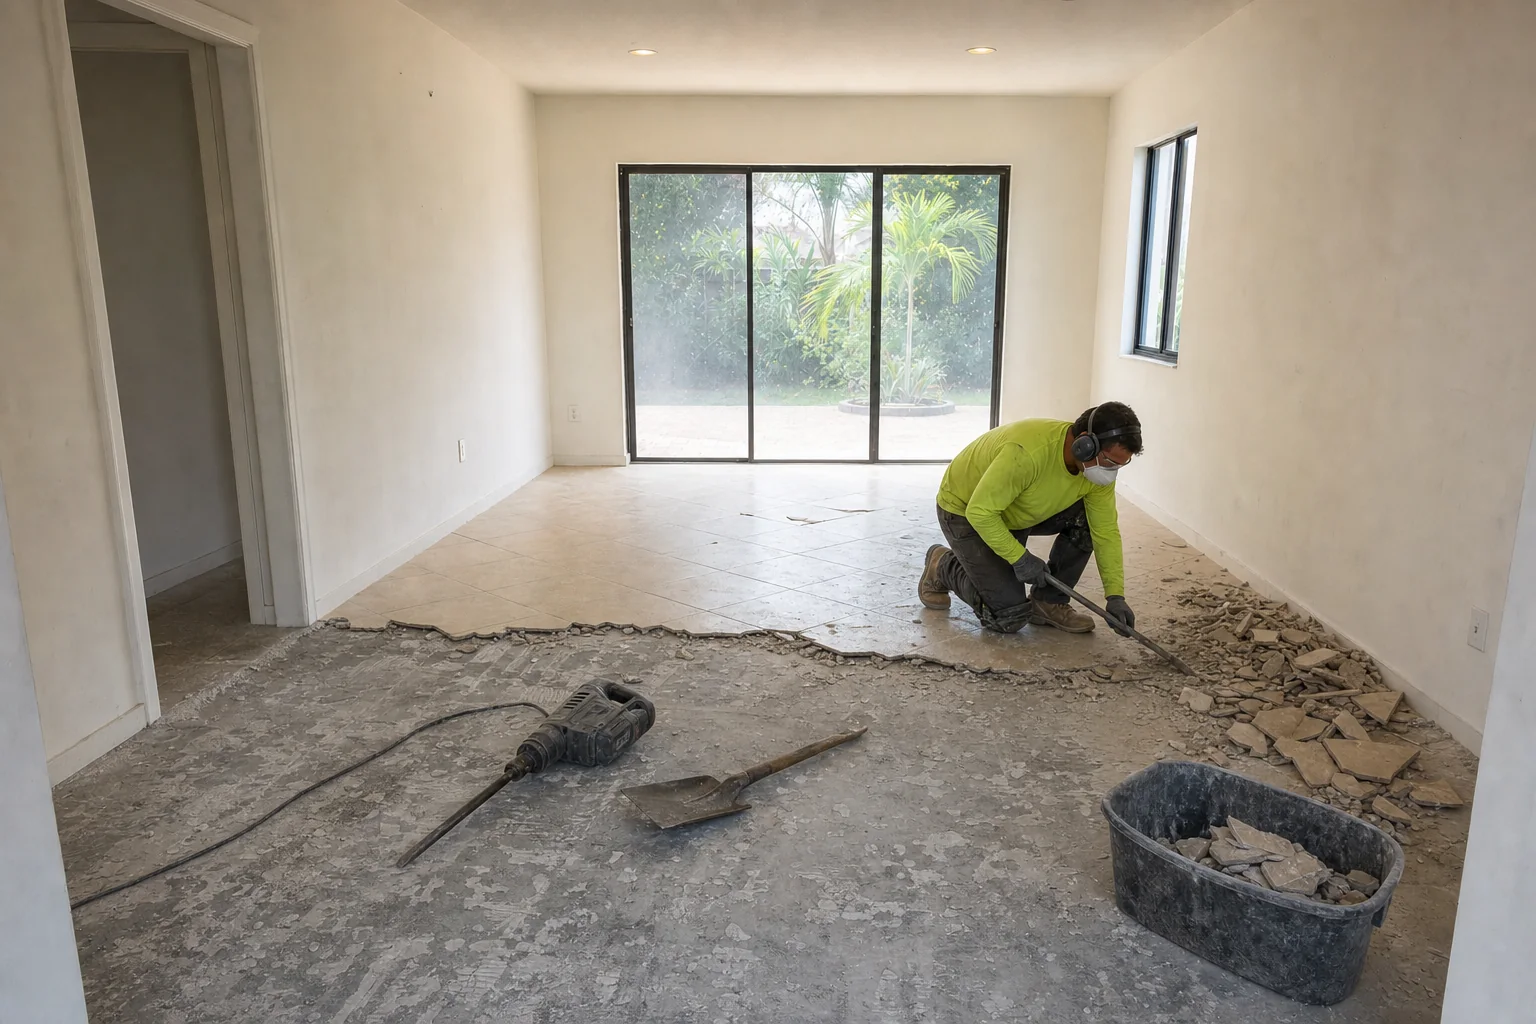
04Floor removalTile, vinyl, carpet, timber or laminate taken up, with the fixing method dictating the method of removal.
The aim is to remove the covering without damaging the substrate underneath. Aggressive removal that gouges a slab creates repair work that did not need to exist.
05Mortar bed and adhesive removalThick-set beds ground down and residual adhesive removed to leave a workable surface.
A previous tile job often leaves an inch or more of sand-cement bed. It has to come down, or the new floor sits proud of every threshold in the house.
06Substrate assessmentFlatness checked against the tolerance the chosen floor requires, plus cracks, spalling and hollow areas.
Different finishes demand different flatness. A large-format tile and a click-lock vinyl do not tolerate the same deviation, so the target is set by what is going down.
07Moisture testingIn-situ relative-humidity probe testing to ASTM F2170 before any moisture-sensitive floor is specified.
A slab can feel bone dry and still transmit enough vapour from below to fail a wood or wood-look floor within a year or two. Probes set into the slab and left to equilibrate give the real figure.
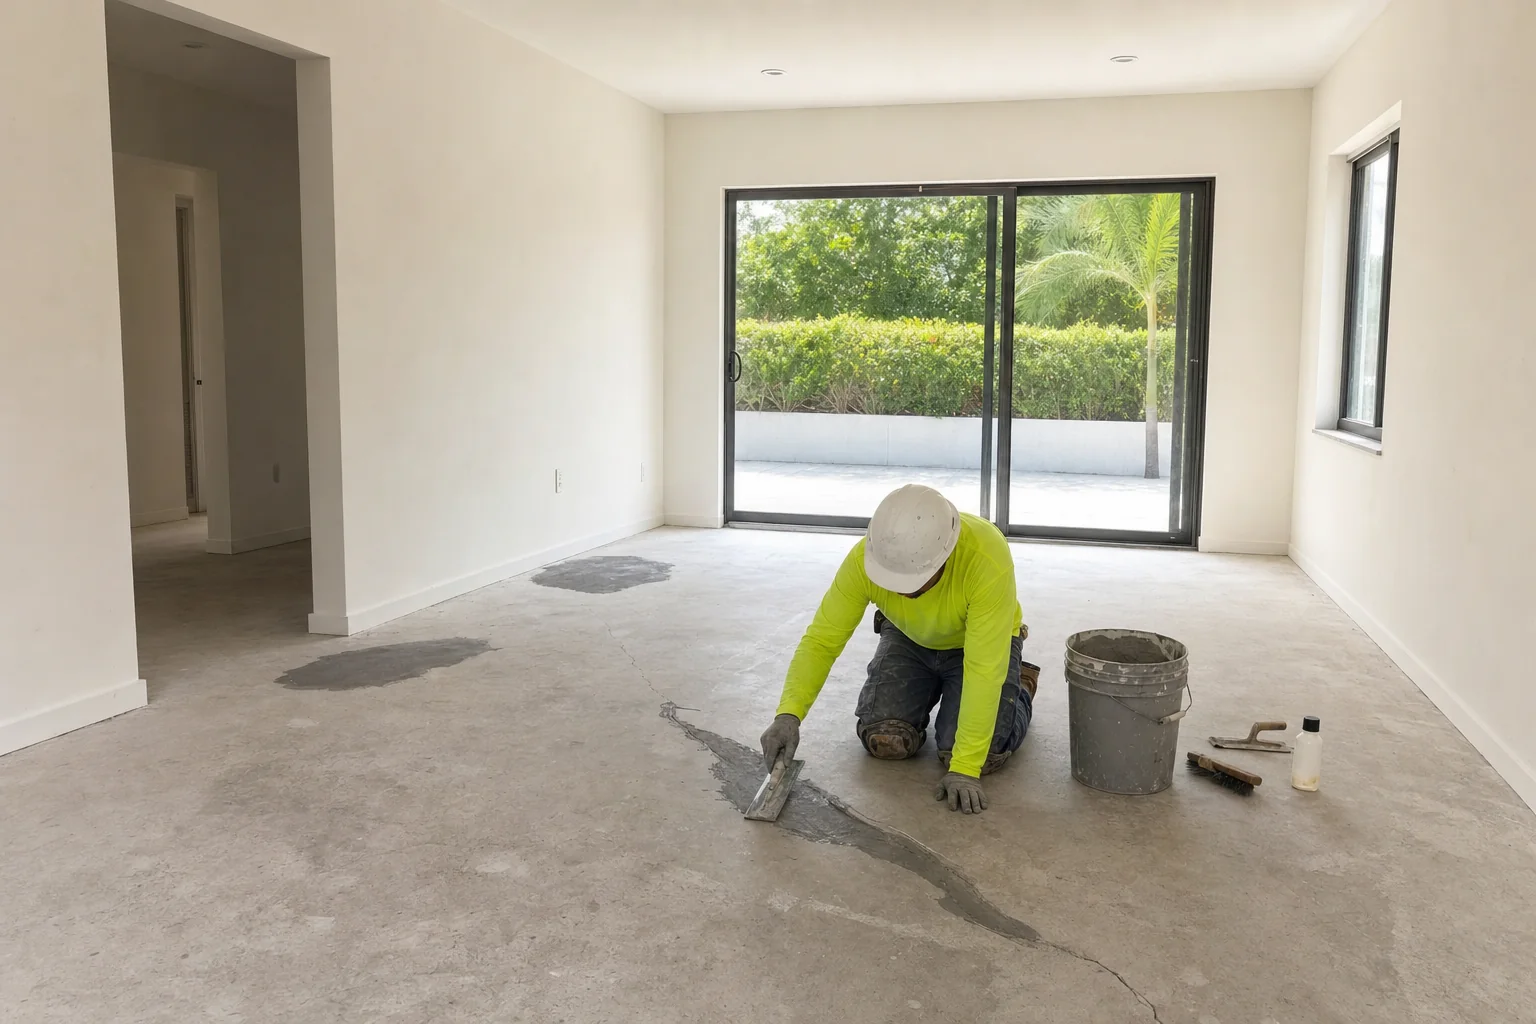
08Crack repair and levellingCracks stabilised by epoxy or polyurethane injection; low spots corrected with self-levelling underlayment.
A crack that is merely covered telegraphs through the new floor. Skipping levelling on an out-of-tolerance slab is one of the most common causes of hollow-sounding tile and separating vinyl seams.
09Handover or installationA prepared, tested, documented substrate — either to our own installation phase or to another contractor.
We are content to do this as a standalone scope. If someone else is laying the floor, they get a substrate with test results attached rather than assurances.
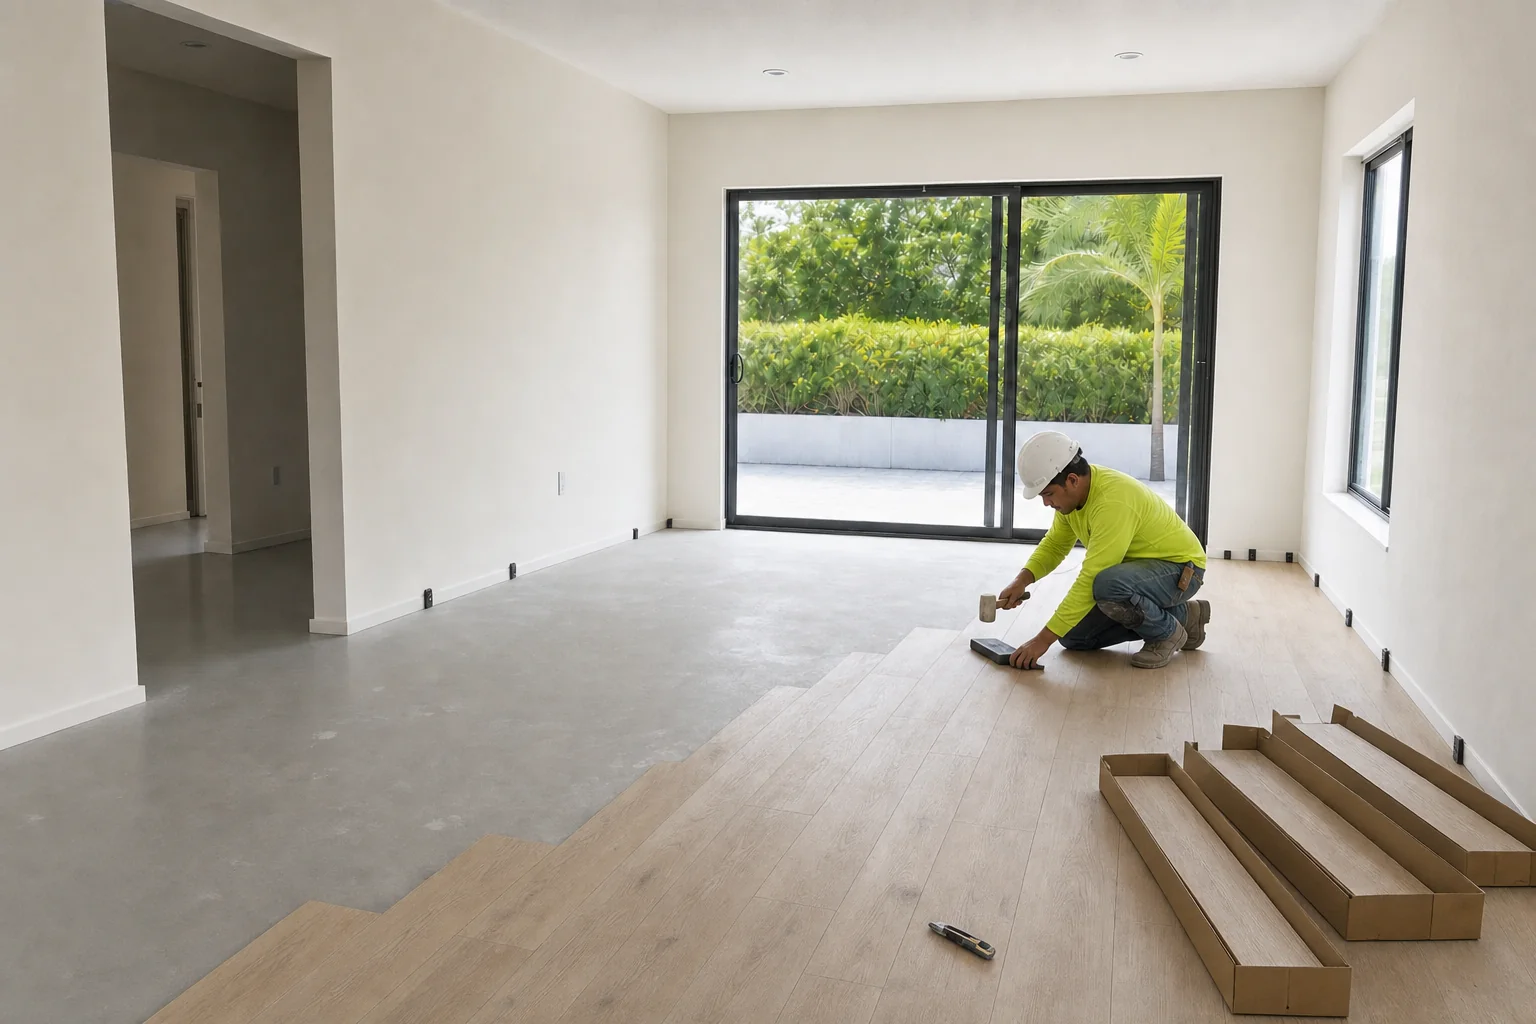
One room, floor to substrate and back.
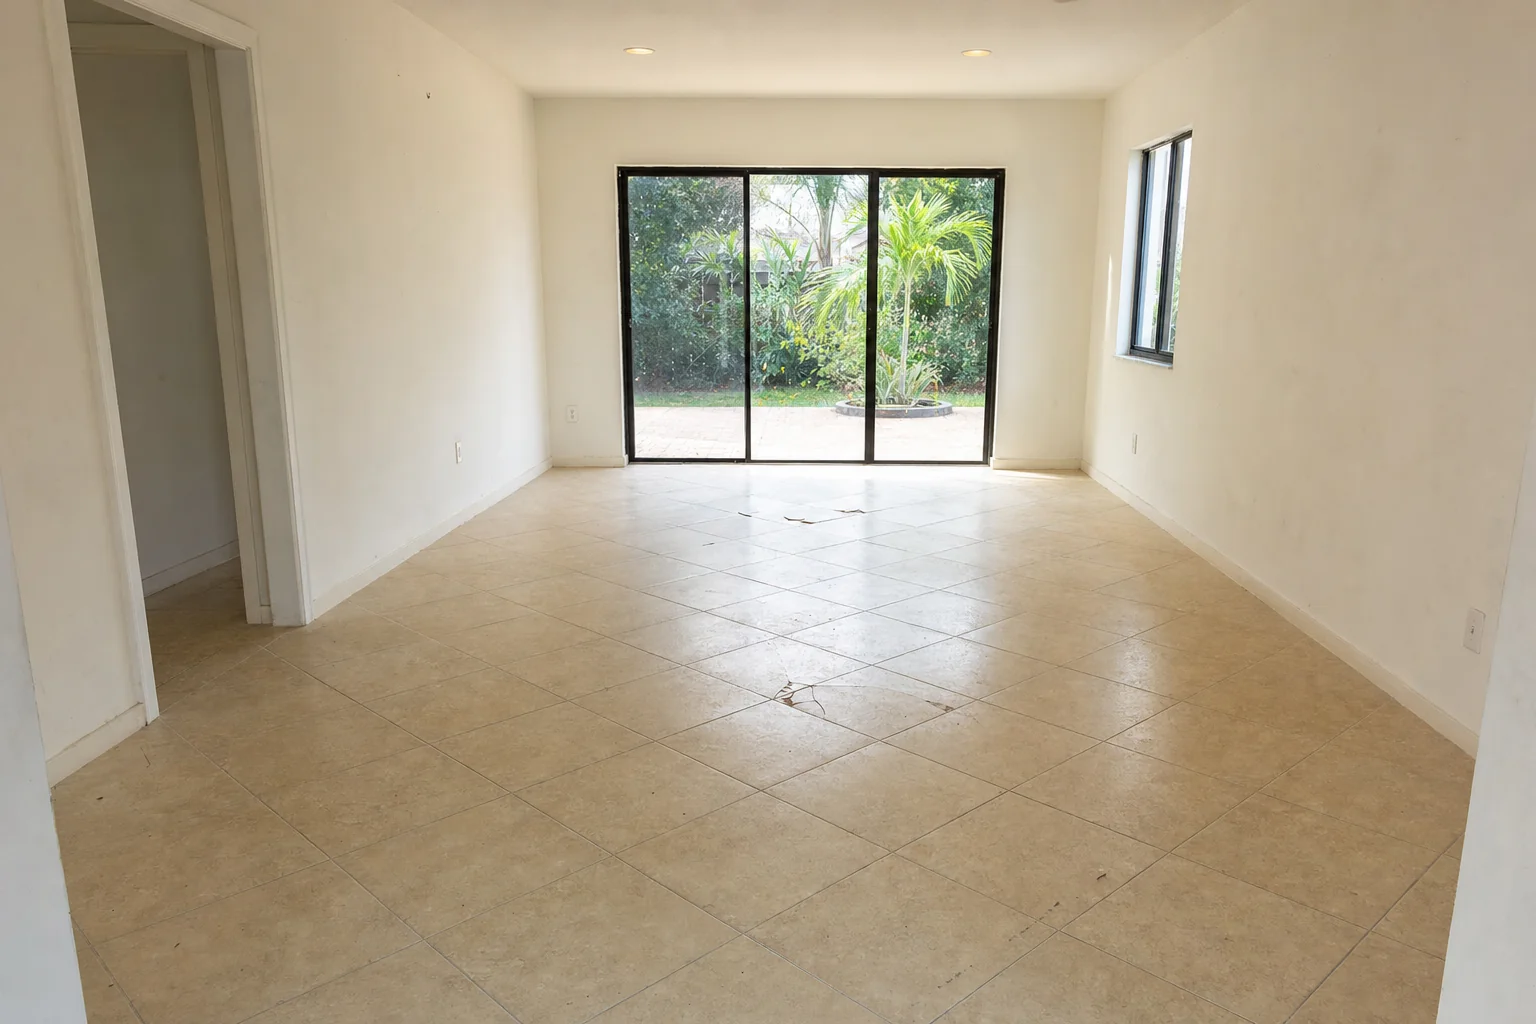
Illustrative sequence · not photographs of an Elbaz project
Every image on this page is a generated illustration of the removal and subfloor-repair process described here. None of them is a photograph, and none shows a completed Elbaz Construction project. The sequence is drawn as one room so the stages read in order; the substrate frames are separate technical illustrations. The conditions, tests and standards they depict are real and are the work we carry out.
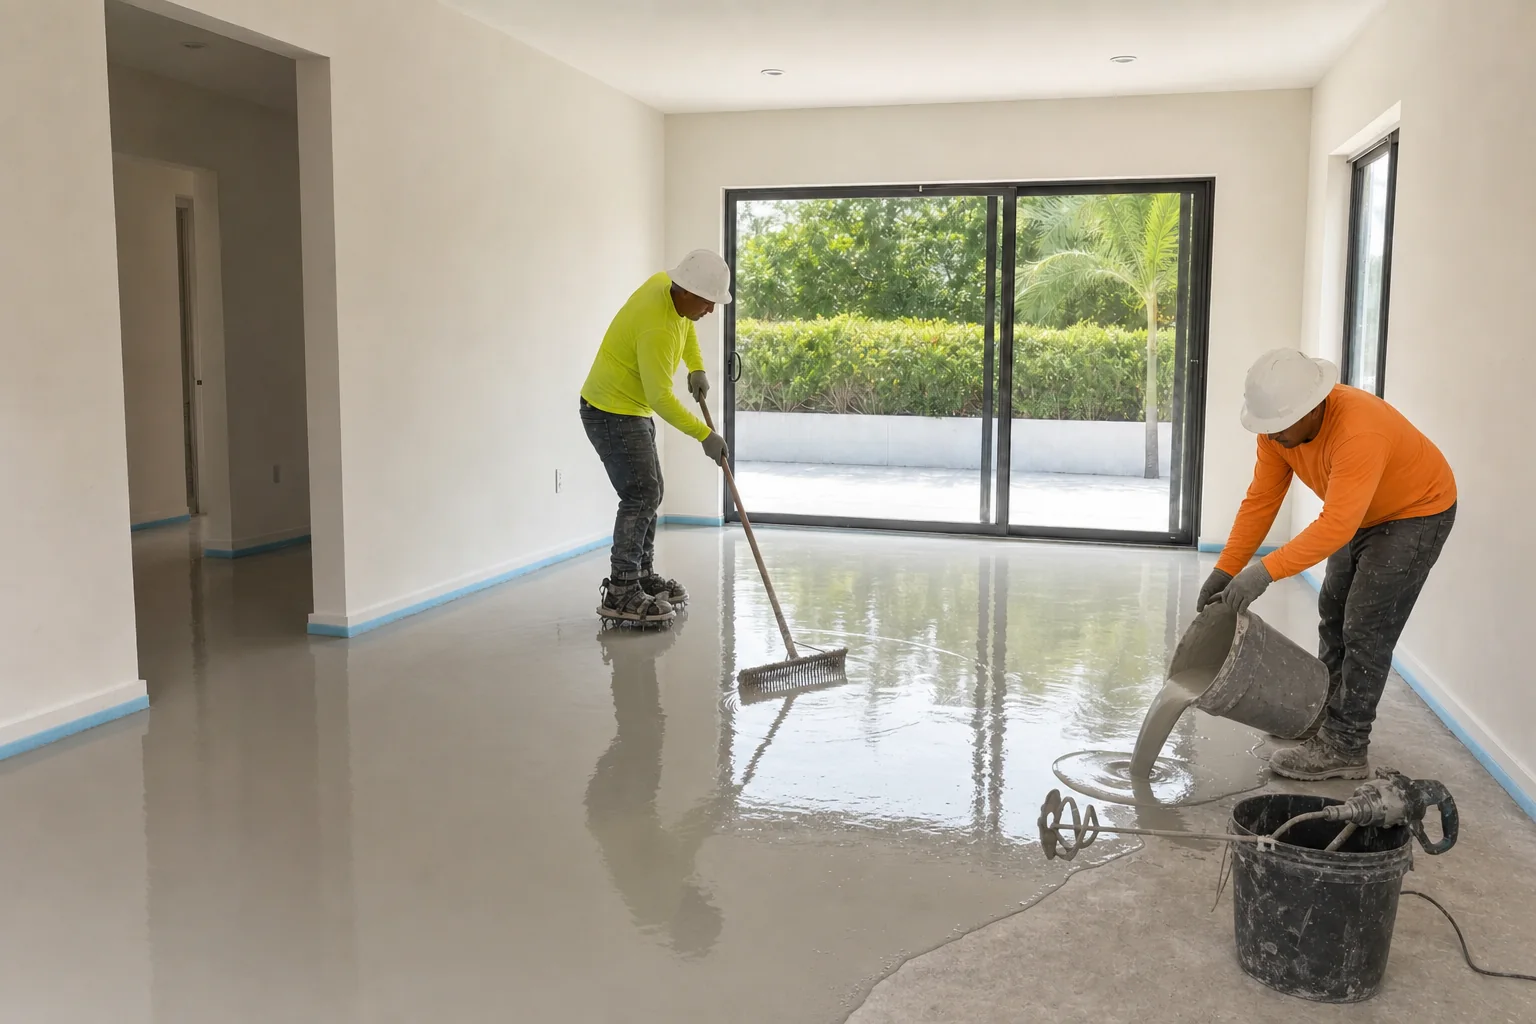
Why the order matters.
Test before you demolish
On any pre-1980s home with original vinyl tile still down, a sample is tested before grinding or aggressive scraping begins. Intact material is generally low-risk; disturbing it is what changes the picture. Testing first also means the programme and the price are set against what is actually there rather than against an assumption.
Remove without damaging
The objective is to take the covering off and leave the substrate as intact as possible. Over-aggressive removal gouges a slab and manufactures repair work that did not need to exist. Where a thick-set mortar bed is found, it is ground down rather than left, because a new floor sitting an inch high fails at every threshold in the house.
Measure, then correct
Flatness is checked against the tolerance the chosen floor actually requires, not a general one. Cracks are stabilised with epoxy or polyurethane injection so they do not telegraph through. Low spots are corrected with self-levelling underlayment. Skipping this is the most common reason new tile sounds hollow or vinyl seams separate in the first year.
Prove it is dry
A slab that feels dry can still transmit enough vapour from below to destroy a wood or wood-look floor. In-situ relative-humidity probes set at roughly 40% of slab depth and left to equilibrate give a reading from inside the concrete. That number decides whether a vapour barrier or mitigation coating is required before anything moisture-sensitive goes down.
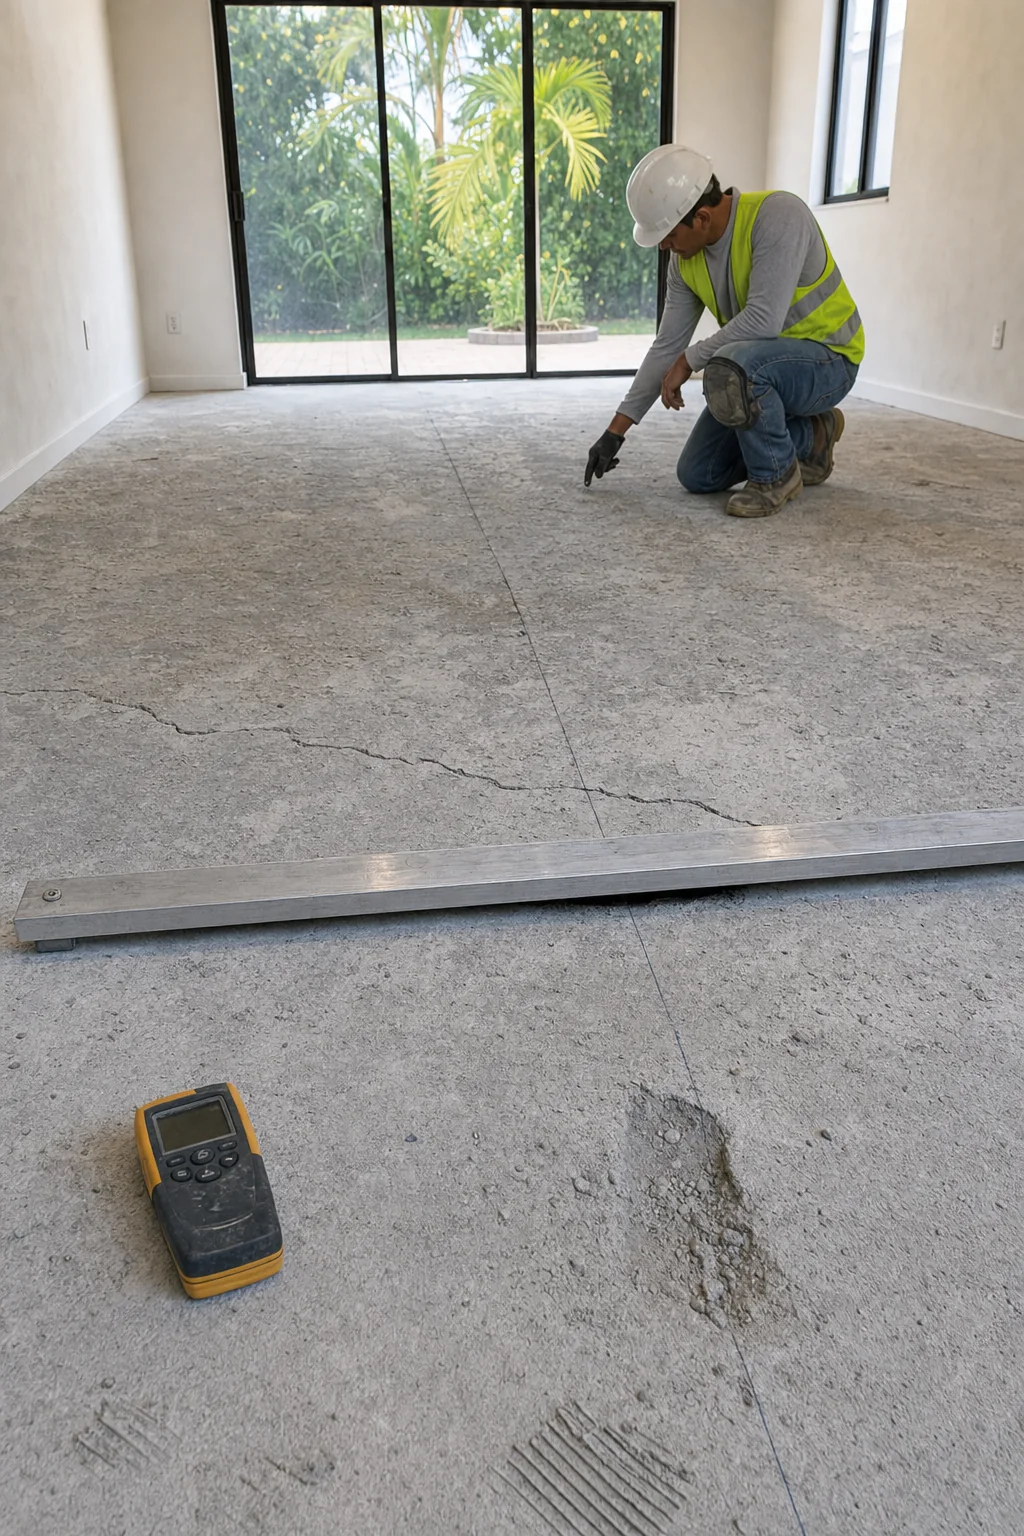
A new floor almost never fails because of the floor. It fails because of what was under it.
Six things we hold to on removal and subfloor work.
The substrate decides the lifespan
Flatness, moisture and crack stabilisation determine whether a floor lasts twenty years or fails in eighteen months. The finish material rarely does.
Tolerance set by the finish
Large-format tile, click-lock vinyl and engineered timber do not tolerate the same deviation. We prepare to the number the chosen product requires.
Height and thresholds planned
Removing or retaining a mortar bed changes finished floor height at every door and transition. That gets resolved on paper before demolition.
Testing before scheduling
Asbestos and moisture testing happen before a programme is promised, because both can change it substantially.
Remove without wrecking the slab
Careful removal leaves a substrate that needs less repair. Aggressive removal creates work that then has to be paid for.
Documented, not asserted
You get moisture readings and a flatness check, whether we lay the new floor or someone else does.
South Florida adds three constraints: slab-on-grade construction means vapour drive from below is a permanent condition rather than an occasional one; the mid-century housing stock puts asbestos-era vinyl and mastic in play on a large share of homes; and prior tile-over-tile work has left thick mortar beds in more houses than most owners expect.
The four conditions we actually find.
These are separate technical illustrations rather than part of the sequence above. Each shows one of the substrate conditions that changes the scope of a removal job.
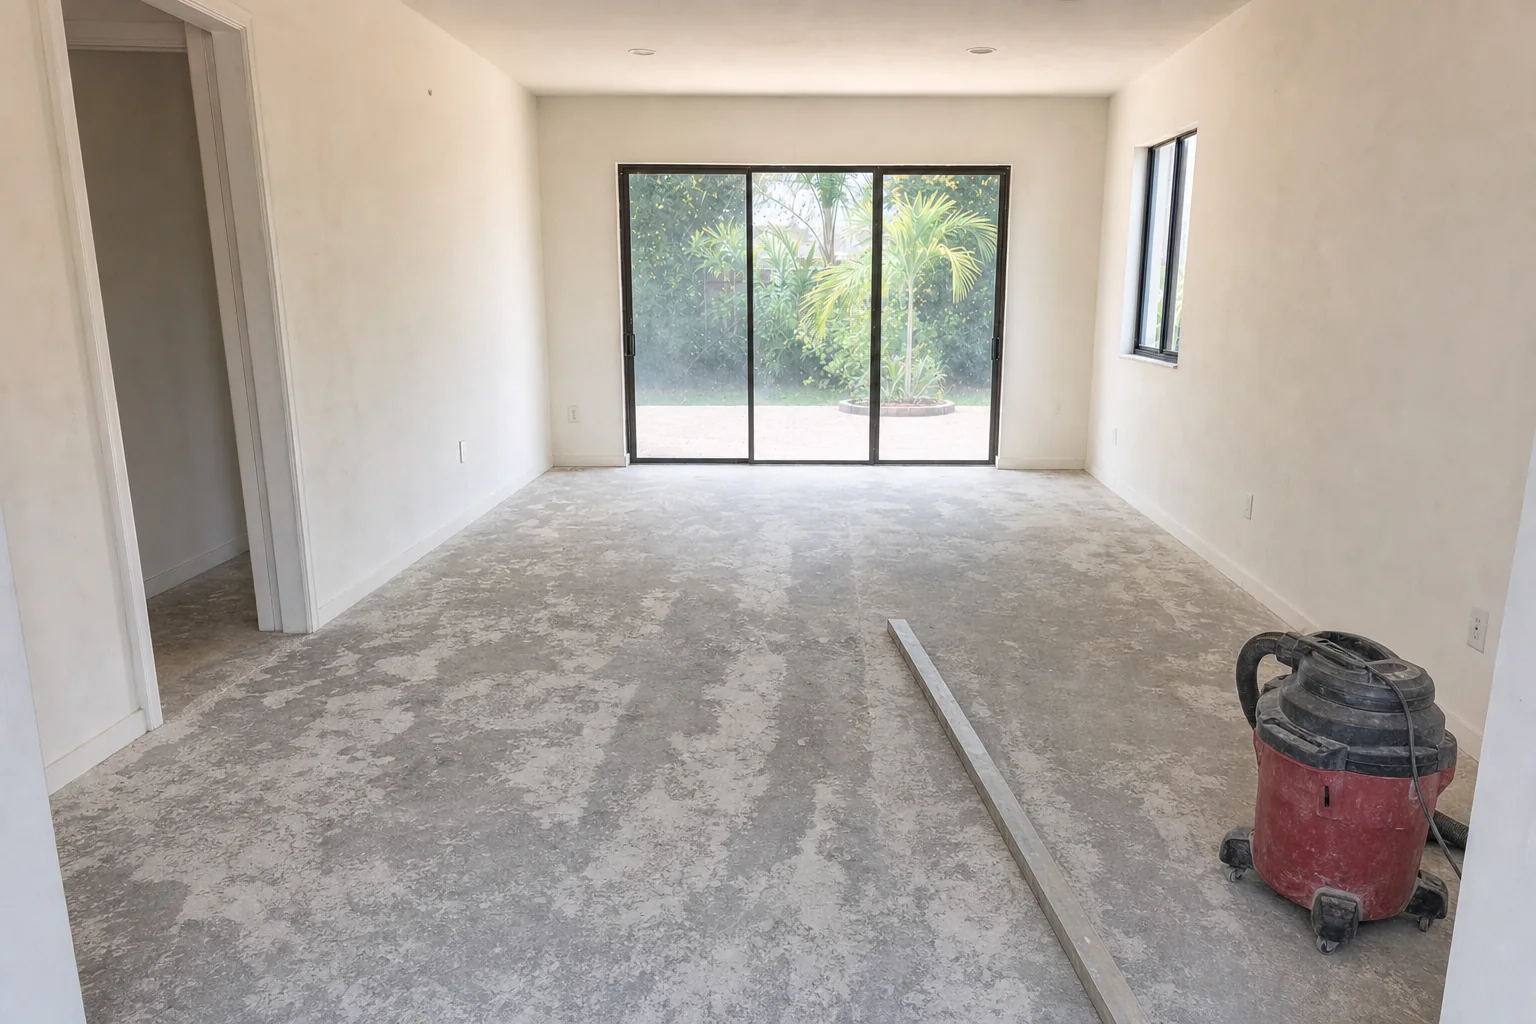
Illustration: the slab fully stripped and swept
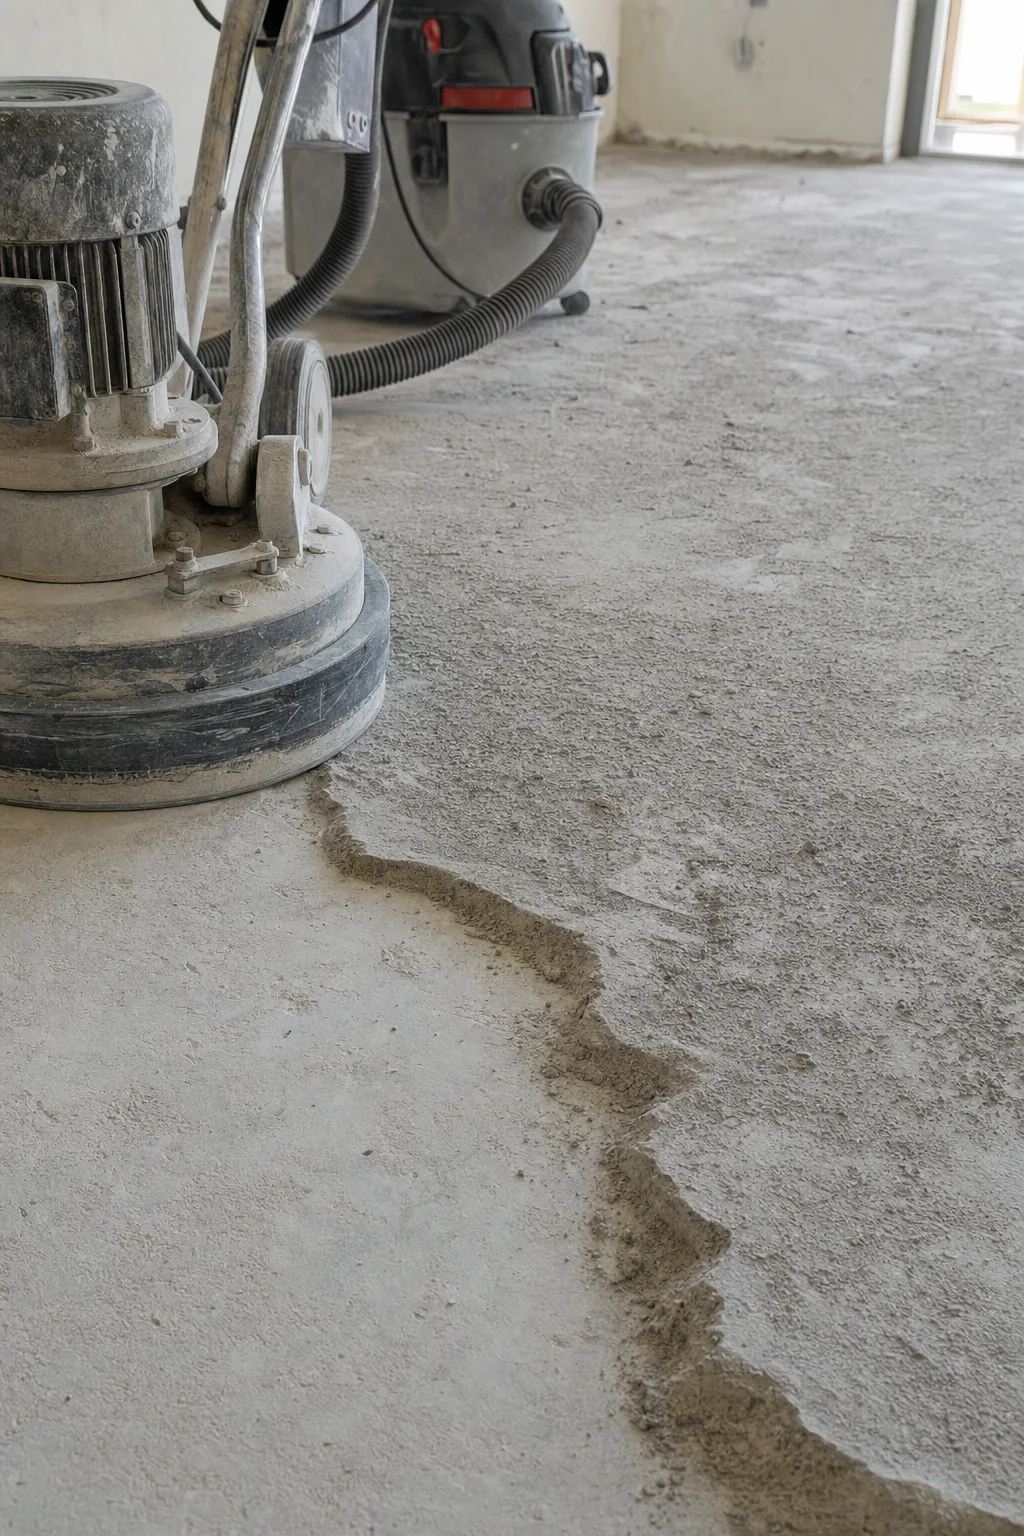
Illustration: a thick-set mortar bed left after tile removal
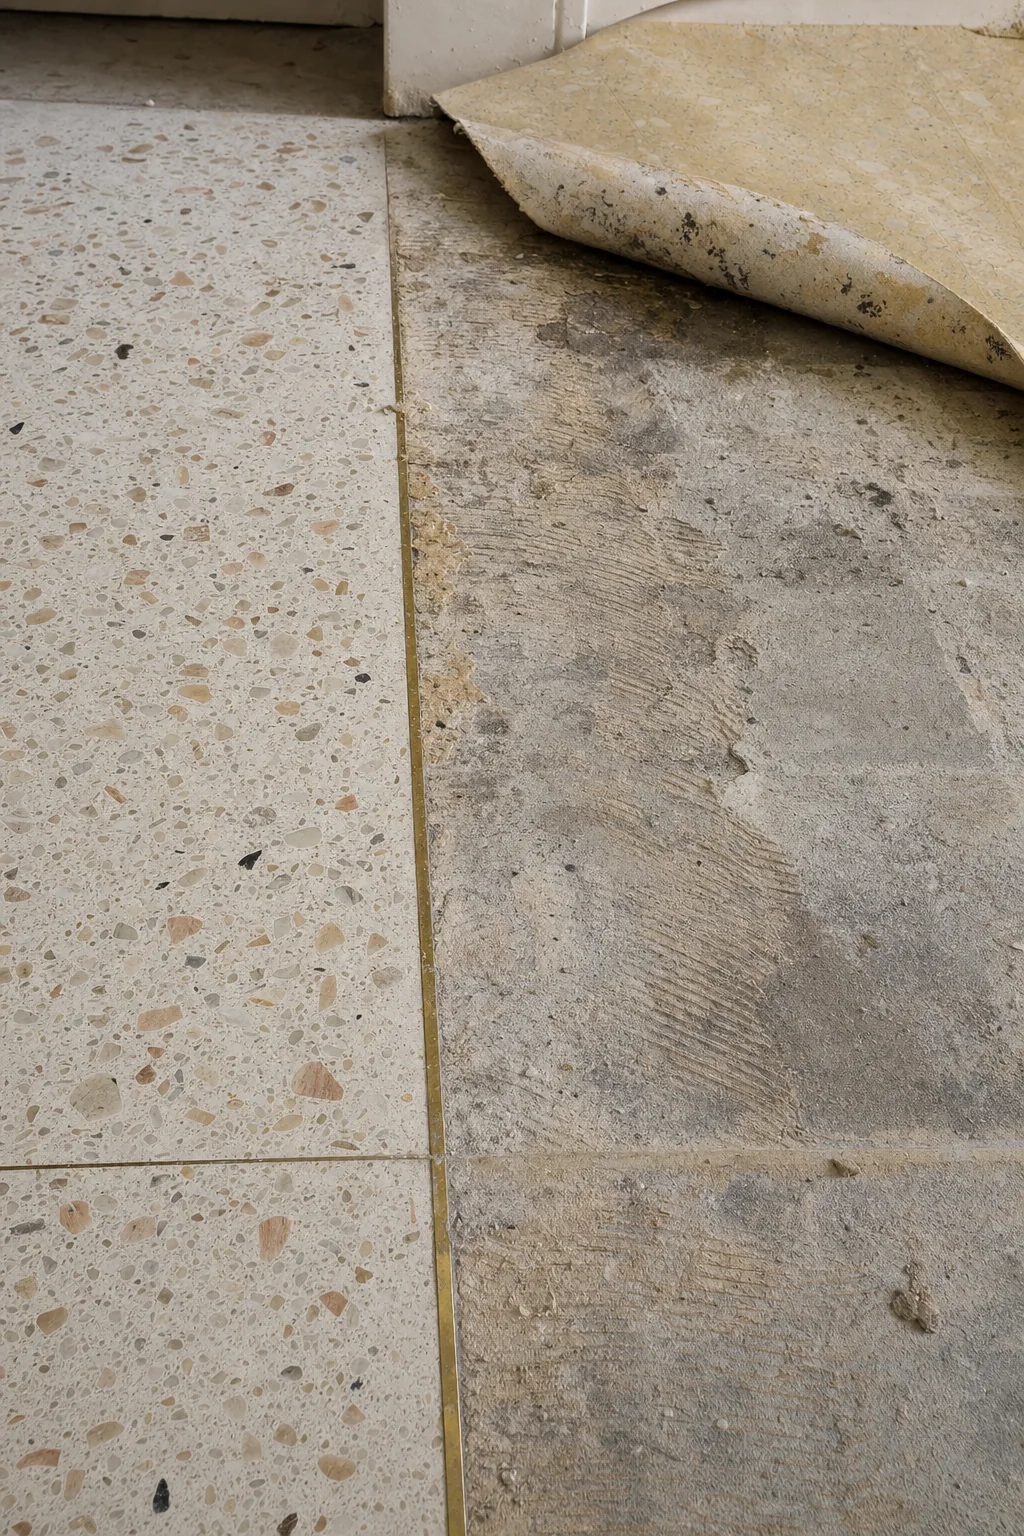
Illustration: original terrazzo found beneath an old covering
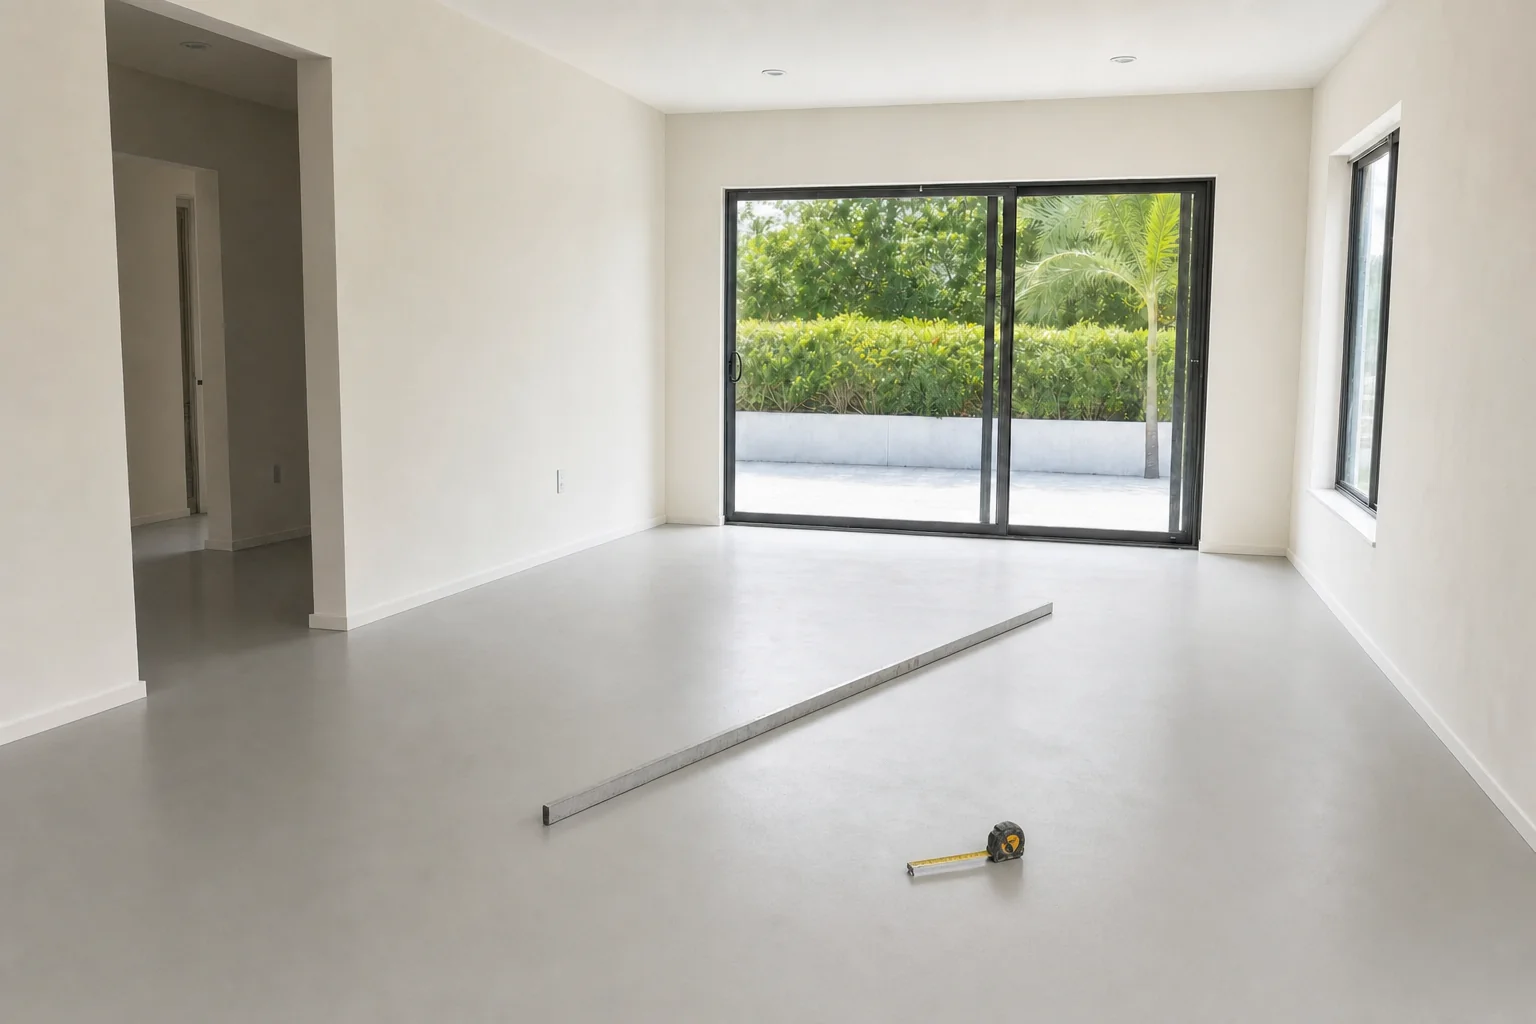
Illustration: the levelled substrate, cured and ready
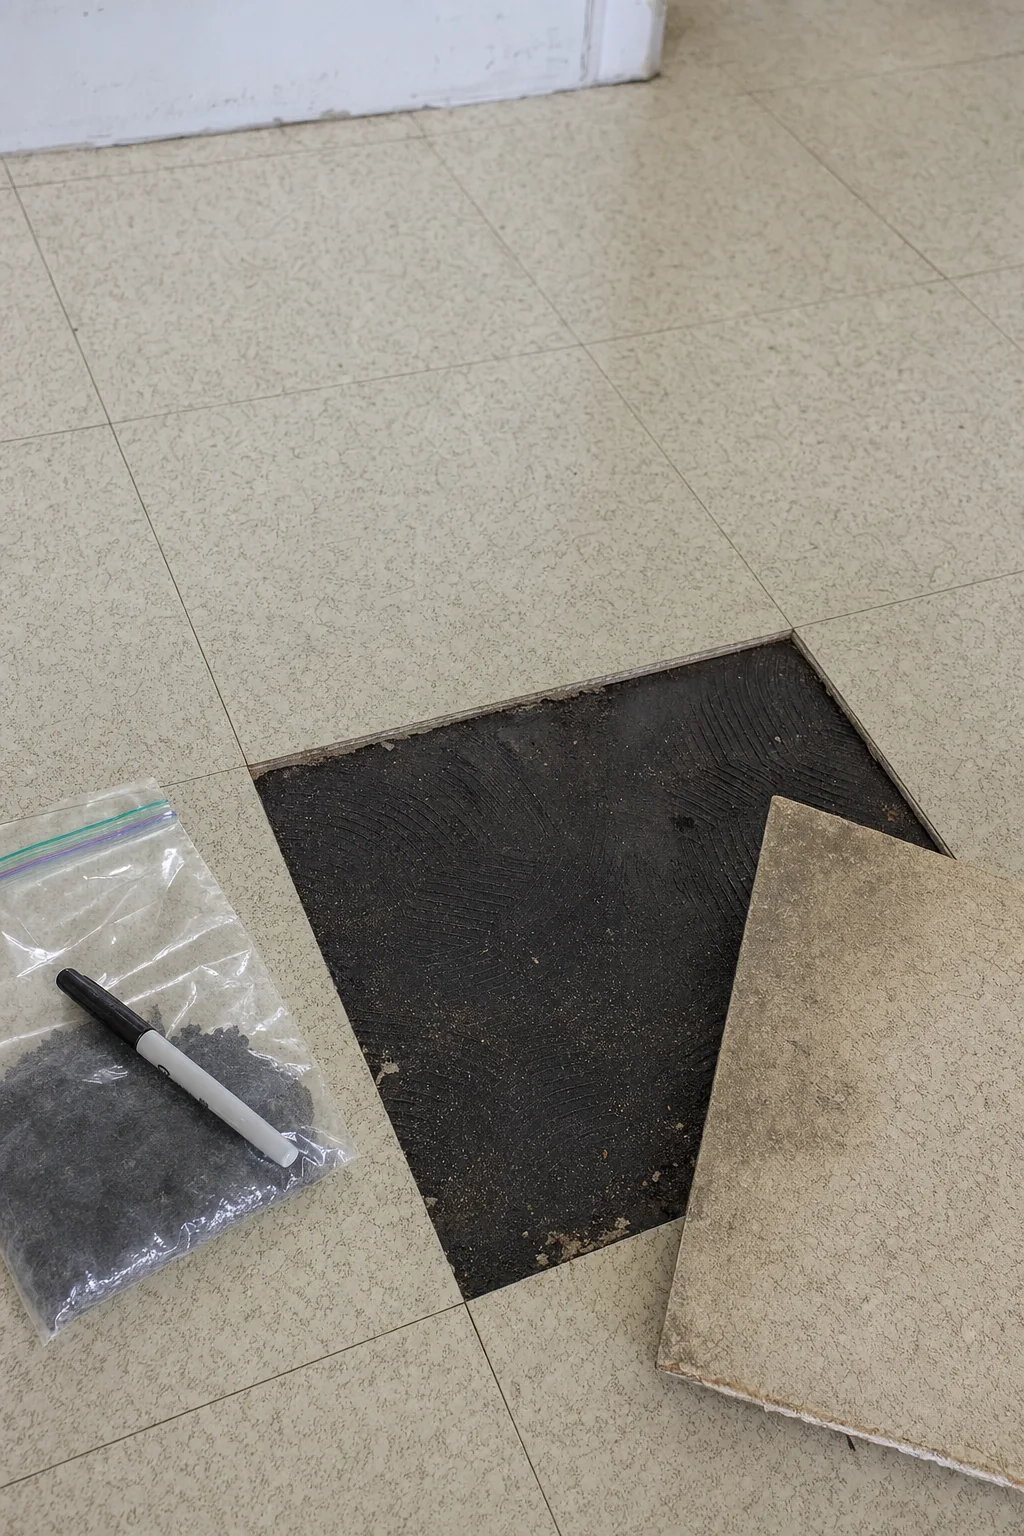
Illustration: mid-century vinyl tile over black cutback adhesive
What gets used, and when.
The six methods that make up almost every removal and repair scope.
Provenance note: every image on this page is a generated illustration produced to explain the removal and subfloor-repair process, and the diagrams in section 11 are drawings we produced. No image here is a photograph, and none shows a building or a floor completed by Elbaz Construction. The conditions, standards and methods described in the text are accurate regardless.
Nine stages, one contractor.
Consultation
What is down now, the age of the property, and what you intend to lay.
Site assessment
Existing floor identified, thresholds and finished heights recorded, suspect material noted.
Testing
Asbestos sampling where the age and material call for it; moisture testing where the new floor is sensitive to it.
Scope and sequencing
A written scope reflecting what testing actually found, including abatement where required.
Protection
Containment, dust extraction and protected routes set up.
Removal
Floor covering taken up with the method matched to how it was fixed.
Substrate preparation
Mortar bed ground down, adhesive residue removed, surface vacuumed.
Repair and levelling
Cracks injected and stabilised; self-levelling underlayment poured and cured.
Verification and handover
Flatness checked, moisture readings recorded, substrate handed over or installation begins.
What needs approving, and what does not.
Permit requirements differ across Miami-Dade, Broward and Palm Beach and between individual condo buildings, and they change. Whether your specific removal requires a permit depends on the associated scope. We will confirm what your address and building actually require rather than guessing.
Four substrates, four different projects.
Drawings, not photographs. Pulling up an old floor in South Florida usually reveals one of these, and which one it is changes the entire scope.
Sound slab
Bare, flat, structurally sound concrete. The straightforward case: clean, test for moisture, and proceed.
Mortar bed
A thick sand-cement bed from a previous tile job, which has to be ground down before anything new can sit at the right height.
Terrazzo
Original mid-century terrazzo tiled over rather than removed. Sometimes worth restoring instead of covering again.
Vinyl and mastic
Mid-century vinyl tile over black cutback adhesive. On pre-1980s homes this is tested before anything is ground or scraped.
Cracks and dips
Shrinkage or settlement cracks and out-of-tolerance low spots, which are stabilised and levelled rather than covered.
What moves the number, and what moves the date.
Removal pricing varies more than almost any other trade, because what is under the floor is unknown until some of it comes up. These are the drivers.
What moves the number
What moves the date
Bring to the first call
- Roughly when the property was built.
- What is down now, and whether you know what is under it.
- What you intend to lay afterwards.
- Whether it is a condo, and the building’s name.
- Whether anyone will be living there during the work.
- Any history of damp, cupping or lifting in the existing floor.
A substrate you can lay on.
The end of the sequence: slab stripped, defects repaired, surface levelled and cured, moisture verified, new floor down. An illustration of the process rather than a photograph of a finished Elbaz project.
- An assessment of what is likely under your existing floor.
- Testing before any demolition on suspect material.
- A written scope that reflects what testing actually found.
- Moisture readings and a flatness check handed over at the end.
Questions, answered.
Asbestos, moisture testing, mortar beds, levelling, cost and permits.
How do I know if my old vinyl tile contains asbestos?
Age is the strongest clue — vinyl tile and the black mastic beneath it commonly contained asbestos from the 1950s through the 1970s. The only way to know is to test a sample, and we will not grind or aggressively demolish suspect material before that comes back.
Can I just rip the old floor up myself?
If the property predates roughly 1980 and has original vinyl tile or black mastic, we would strongly advise testing first. Intact material is generally low-risk, but sanding, grinding or aggressive scraping can release fibres. For anything else, DIY removal is not prohibited — it just frequently damages the substrate in ways that cost more to repair than the removal saved.
What will be under my tile once it comes up?
It varies. Sometimes bare sound slab. Often an old mortar bed from a previous tile job that has to be ground down. In older homes, occasionally original terrazzo that was covered rather than removed — which changes the whole plan, and is sometimes worth restoring instead.
How do you test whether a slab is too damp for a new floor?
In-situ relative-humidity probe testing to ASTM F2170. Probes are set into the slab at roughly 40% of its depth and left to equilibrate, so the reading comes from inside the concrete rather than off a surface that always feels dry.
Can a cracked slab be repaired, or does it need replacing?
Most cracks are stabilised with epoxy or polyurethane injection before anything new goes over them. Full slab replacement is rare and is reserved for genuine structural problems, not ordinary shrinkage or settlement cracking.
What is self-levelling underlayment and do I need it?
A pourable cement-based compound that flows to correct low spots and bring a slab within the flatness tolerance the new floor requires. You need it if the slab is out of that tolerance — skipping it is one of the most common causes of hollow-sounding tile and separating vinyl seams.
What does removal cost on its own?
It depends almost entirely on what is being removed. Carpet is inexpensive. A thick-set tile mortar bed or asbestos-era vinyl and mastic costs meaningfully more because of the labour, equipment and, where applicable, testing and abatement.
Do you lay the new floor as well?
We can, and we are equally happy to hand over a prepared, tested and documented substrate for another contractor to work on. The test results and flatness check go with it either way.
How much dust does this create?
A great deal, particularly with tile and mortar bed removal. Containment and dust extraction are part of the scope, and in occupied homes and condos we work with protected routes and scheduled debris removal.
Why are the images on this page illustrations rather than photographs?
Because a stage-by-stage sequence — existing floor, removal, exposed slab, repair, levelling, completion — cannot be assembled honestly from photographs of unrelated jobs. Rather than present ten different houses as one project, these stages are drawn as one room and clearly labelled as illustrations.
Why Elbaz.
Licensed general contractor
Certified building contractor, licence CBC1265280, bonded and insured.
Testing before demolition
Asbestos and moisture testing happen before the programme is set, not after something has already been ground.
Documented substrate
You receive moisture readings and a flatness check, whether or not we lay the new floor.
Standalone scope
We are content to prepare a substrate and hand it to another installer, with the results attached.
Local experience
The mid-century Miami-Dade and Broward housing stock, where mortar beds, terrazzo and asbestos-era vinyl are routine finds.
Dust and access control
Containment, extraction and scheduled debris removal in occupied homes and condo buildings.
Communication
If what comes up changes the plan, you hear it that day, with the options and what each costs.
Financing
Financing options available through our partners.
What South Florida homeowners say.
Reproduced verbatim from our Google Business Profile. Nothing here has been edited, merged or rewritten.
Redid my whole bathroom and kitchen. Great service - Great quality - very quick - very professional !! Highly recommended!
Adir DavidovGoogle reviewThey are amazing! Very professional. Met my exact requests with so much patience and knowledge. They renovated my whole house and the whole process was such a breeze. I highly recommend them!
Lee MoraliGoogle reviewWe hired them to renovate our investment property and they provided exceptional quality service for an affordable price!
Shir PartushGoogle reviewAmazing experience with the entire company! They did a great job in my house for some work that needed to be completed, and I am extremely happy with the result. Super professional & great service. I highly recommend Elbaz Construction.
Mia ZafraniGoogle reviewAfter I've been Looking for a good company to renovate my house , I found those guys! These people are super professional super honest super Fast !! Don't hesitate to Rent their service! They are number one!!
carmit cohenGoogle reviewI highly recommend them for home improvement. They renovated my master bathroom and a few upgrades for other guest bathrooms. They are very professional, courteous and transparent. They are great at communicating and finding ways to streamline the work. Sean has impeccable project management and customer relationship management skills. Very pleased with the work!
Omri BGoogle review
