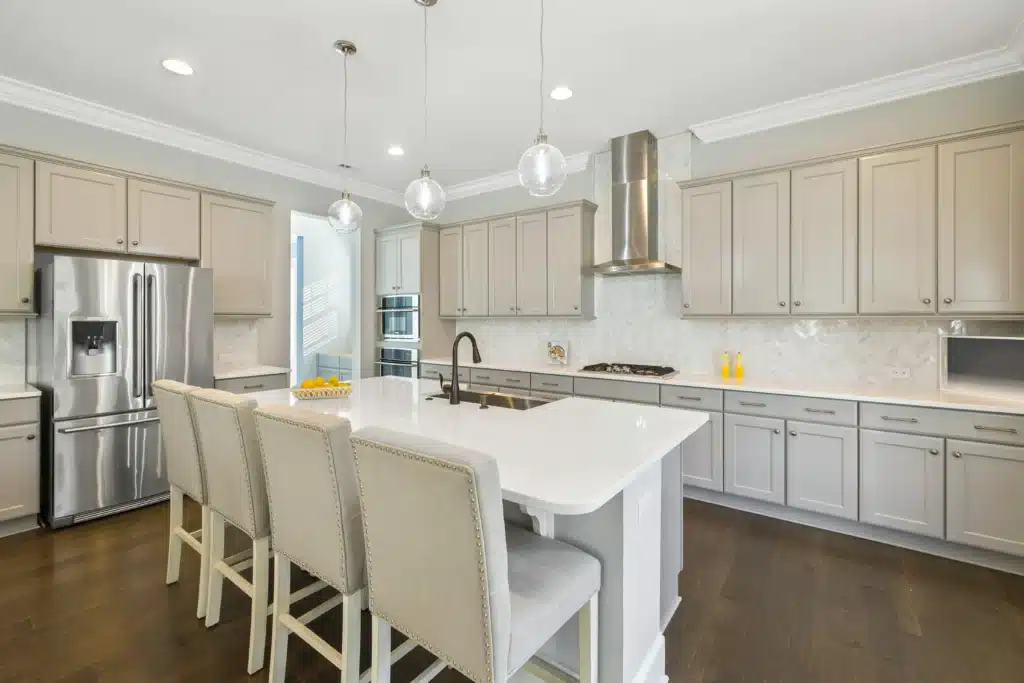
Frame 01OpeningPaver patio installation

Chapter 01 — Why paver patios fail

Almost never the pavers.

It is the base, the edge, or the water.

A paver patio that has sunk in the middle, lifted at a corner or grown weeds along every joint has rarely failed because of the paver. Pavers are concrete or stone; they are the most durable part of the assembly. What fails is underneath and around them.

There are three usual causes. A base that was too shallow or never properly compacted, so it consolidates unevenly under load. A missing or under-fixed edge restraint, which lets the outer courses creep outward and opens every joint behind them. Or water — either no fall designed into the surface, or nowhere for it to go once it gets there.

None of that is visible when the job is finished. Two patios can look identical on handover day and be completely different five years later. That is why this page spends more time on the excavation than on the pattern.
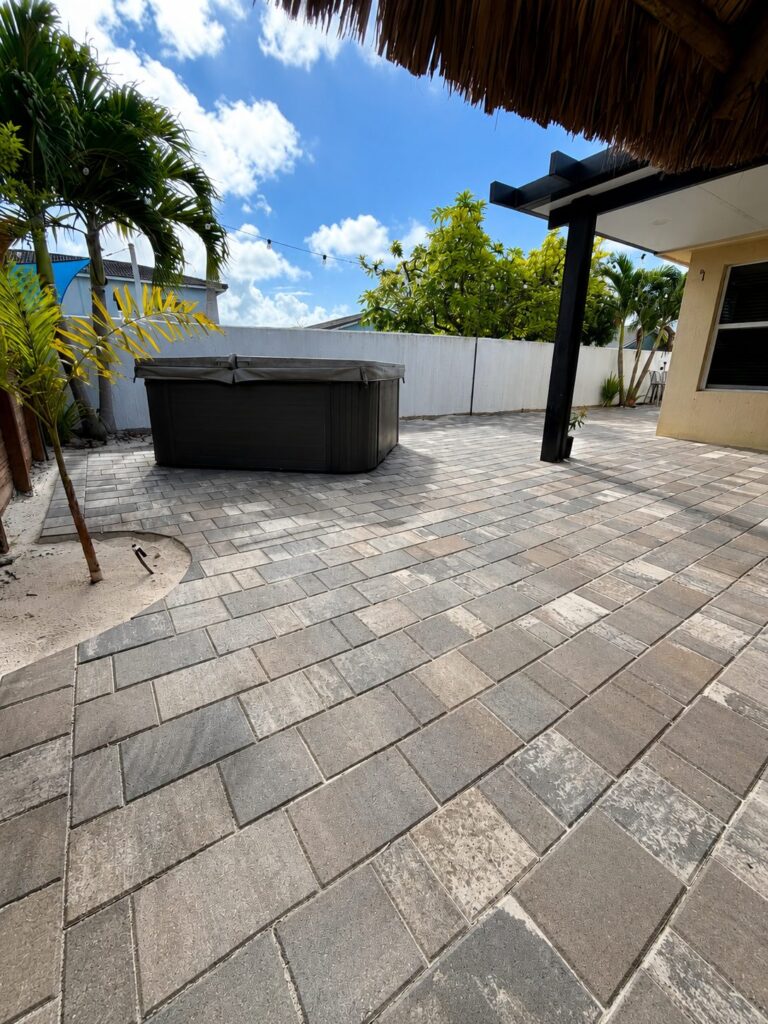
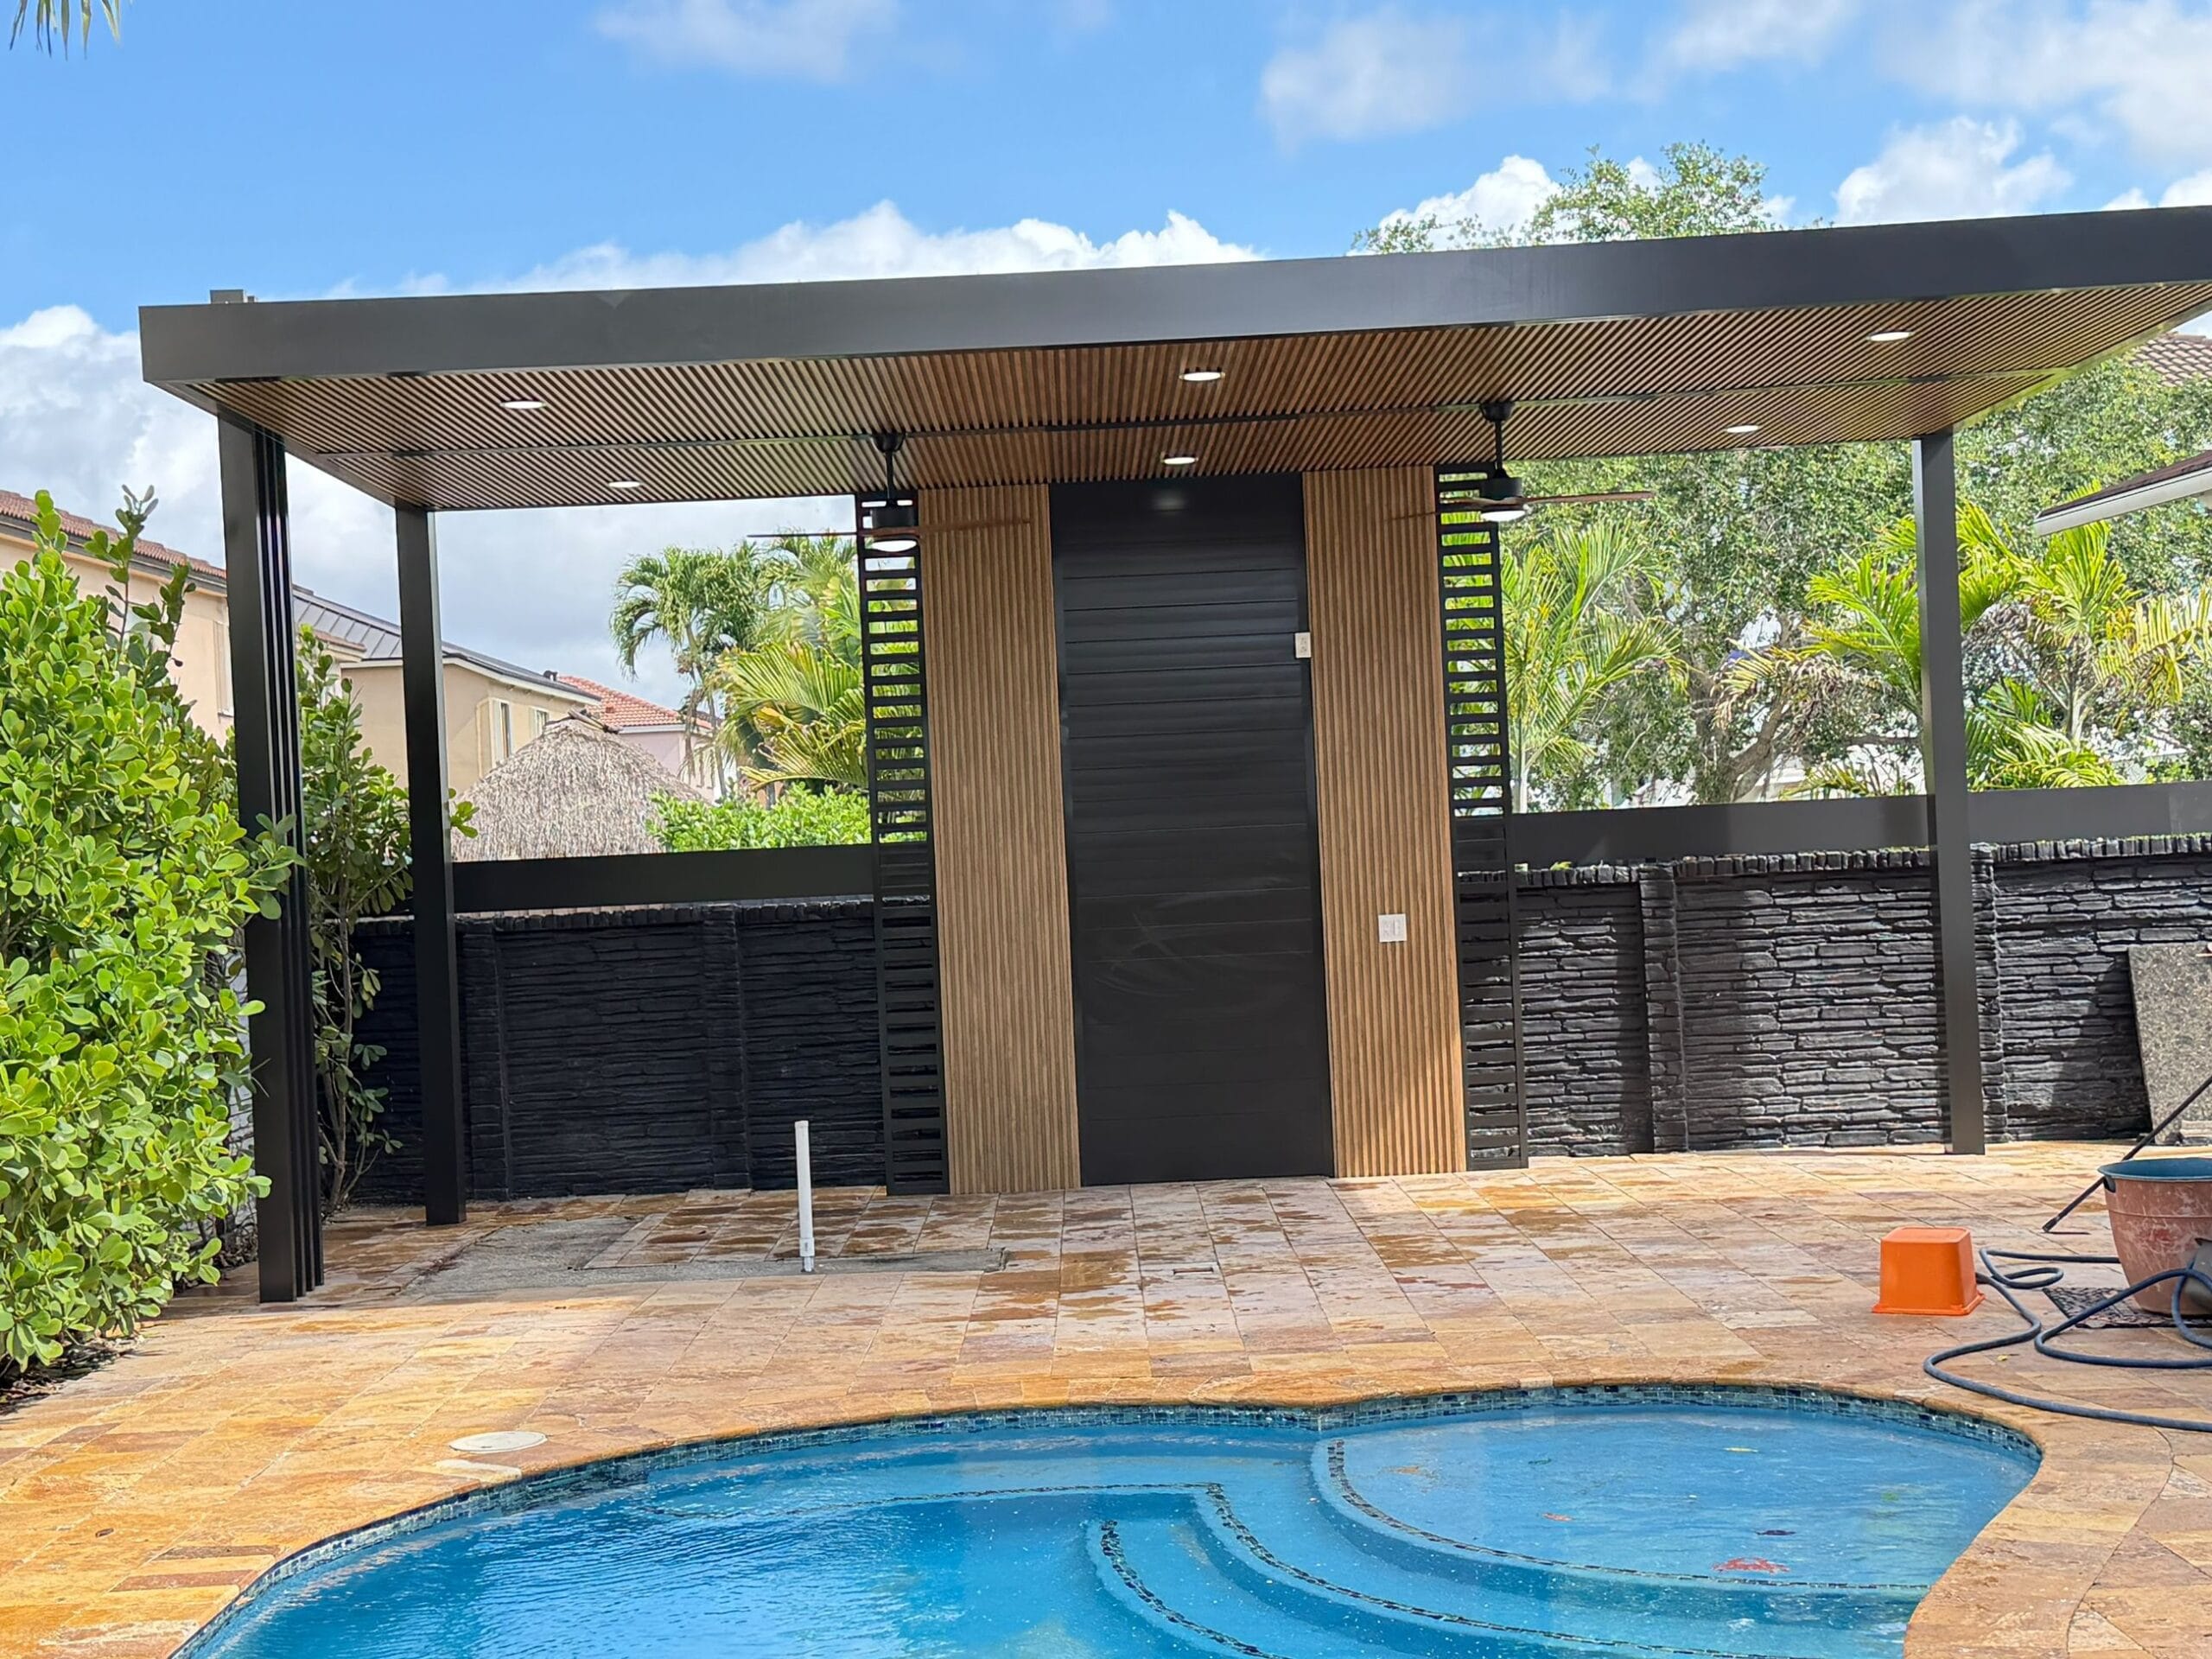
Large-format paver terrace laid around a sunken spa beneath a thatched shade structure, with a rendered boundary wall behind
Large-format paver fieldRunning-bond patternBorder course at the edgeLevel change to the spaFall set away from the wall
Frame 01 · a paver terraceAnnotations mark what is visible in this frame. The frames on this page come from several different properties, and no city, client, cost or date is claimed for any of them.
  • Large-format paver fieldvisible in this frame
  • Running-bond patternvisible in this frame
  • Border course at the edgevisible in this frame
  • Level change to the spavisible in this frame
  • Fall set away from the wallvisible in this frame
Shown
Large-format paver terrace and spa surround
Build-up
Compacted base, bedding, restrained edge
Note
Several properties across this page
COMPACTED

In layers, not all at once

Base material is compacted in lifts rather than dumped and rolled once. A base compacted in one thick layer is dense on top and loose underneath.

RESTRAINED

Every open edge

Edge restraint holds the perimeter courses in place. Without it the field creeps outward under load and every joint behind it opens.

FALL

Away from the house

A patio is designed with a slope so water runs off it, and somewhere for that water to go. Flat looks right and drains nowhere.
Frame 02ScopeWhat is included

Chapter 02 — What a paver installation covers

Most of the work is under the pavers.

Excavation, base, bedding, surface

Scene 01Excavation

Dig out, then build up

The area is excavated to a depth that suits the use and the ground — a foot terrace needs less than a driveway carrying vehicles. Getting this wrong is not recoverable later without lifting the whole field.

Depth is decided by what will stand on it.

Scene 02Base
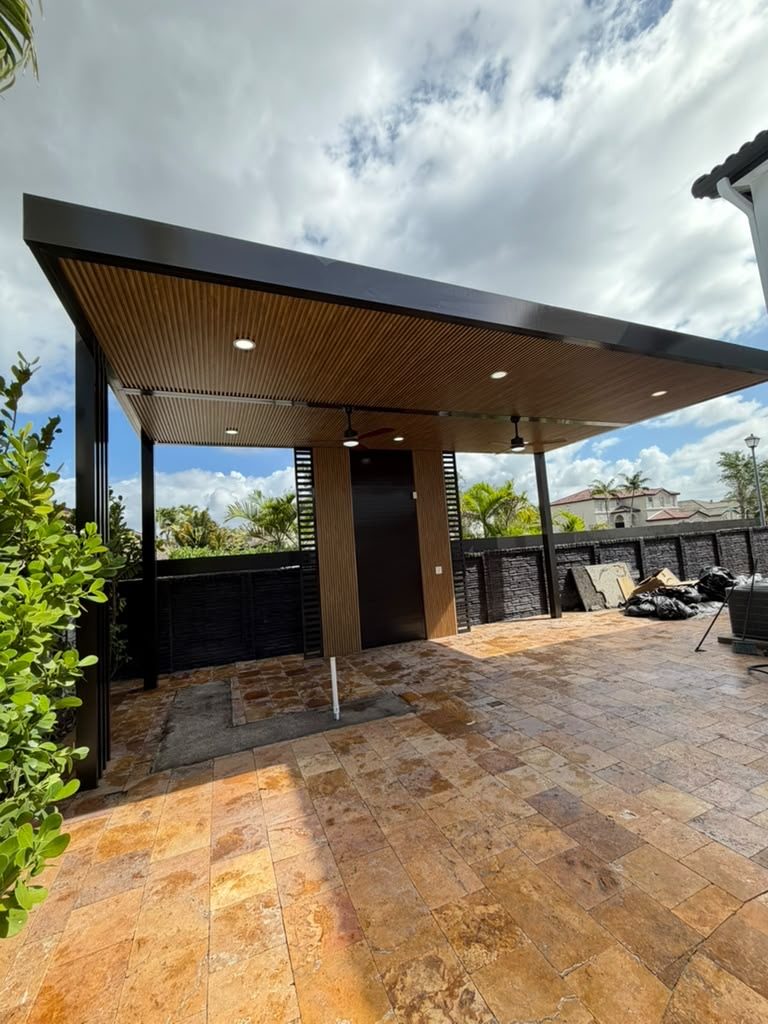
Covered terrace with the travertine paver field laid and materials still on site as work continues

Compacted base and bedding

Crushed base material laid and compacted in layers, then a thin, screeded bedding course that the pavers are set into. The bedding layer levels the pavers; it does not carry the load — the compacted base does. None of it is visible once the field is down, which is exactly why it is worth specifying.

Bedding sand is not a substitute for a base.

Scene 03Laying
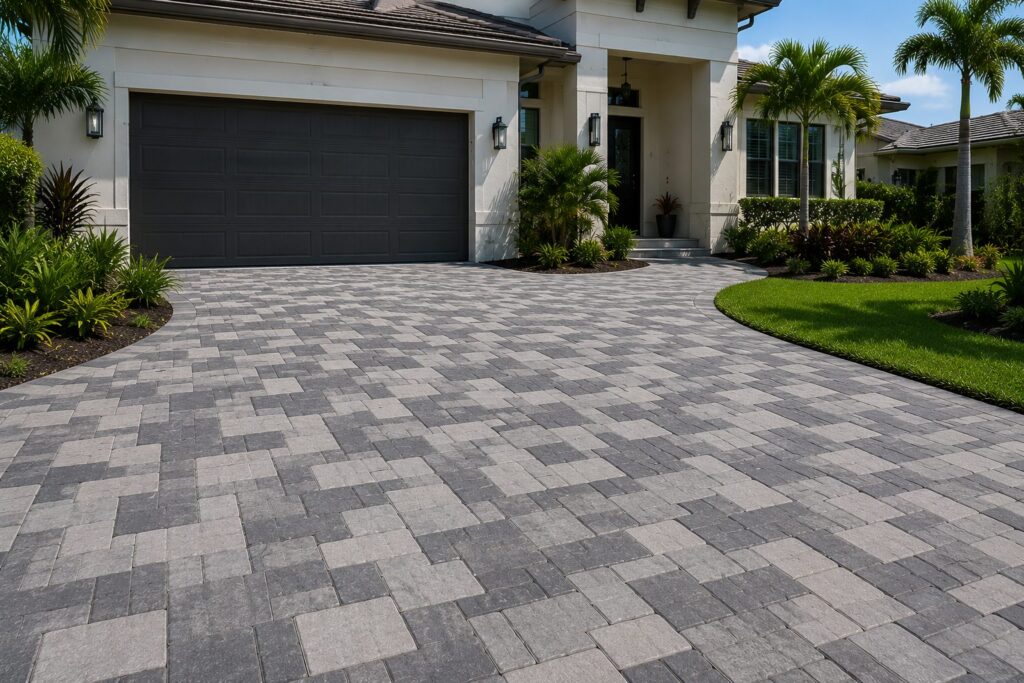
Paver driveway curving away from a garage, with the border course following the radius and a lawn edge alongside

Pattern, cuts and border

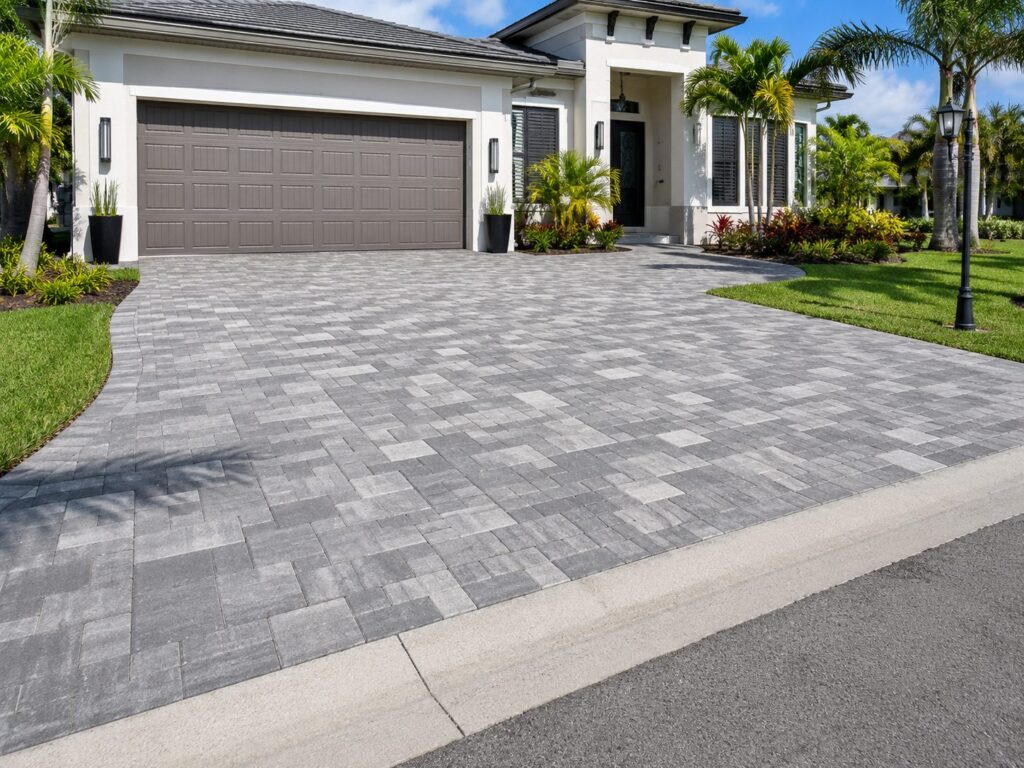
The field is set out so the pattern runs true and the cuts fall where they are least visible, with a border course framing every open edge. On a terrace that means working to the house line. On a curve, as here, every border unit is cut to the radius — which is where paver work is most obviously done well or badly.

Set out from the most visible line, not the easiest one.

Scene 04Finishing
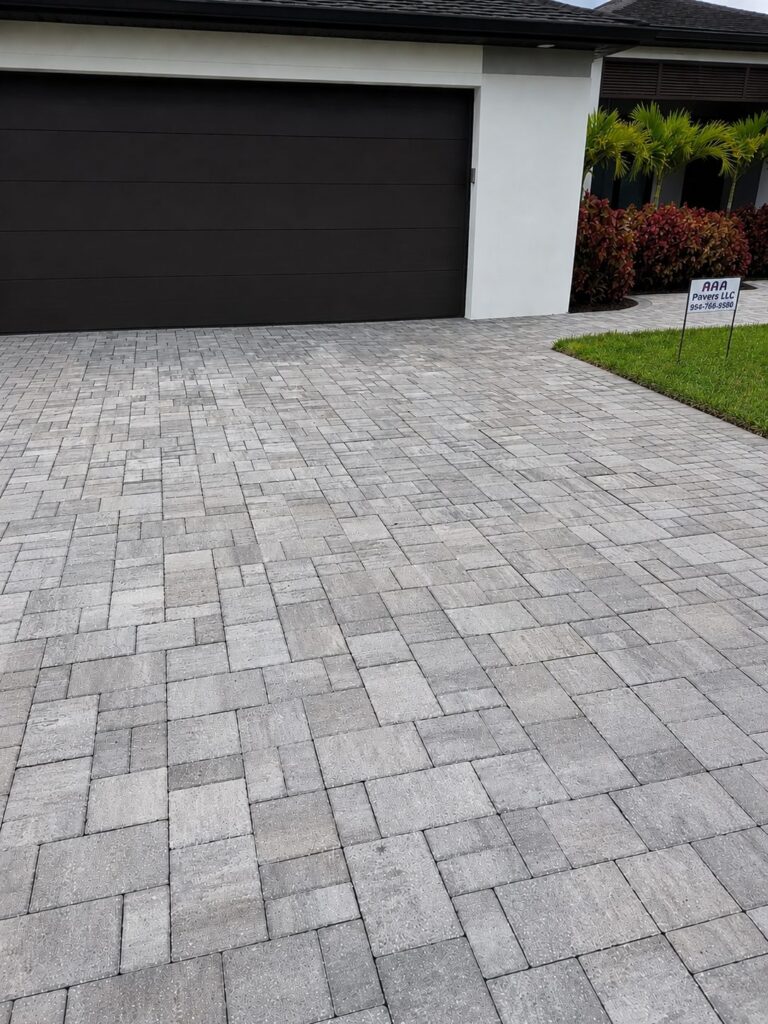
Close view of a paver driveway showing the running-bond pattern, tight joints and the edge where the field meets a planting bed

Edge restraint, joints and compaction

Edge restraint fixed at every open edge, joint sand swept in and vibrated home, and the field compacted so the pavers lock together. Polymeric sand stiffens the joints against weed growth and washout.

A paver field works because it interlocks, not because it is glued.

Scene 04 is an illustrative diagram. Permitting does not photograph well.

Not sure where your water goes when it rains? That is the first thing we look at.

Frame 03Paved surfacesSeveral properties · one method

Chapter 03 — Paver work across South Florida

Terraces, decks and drives.

Several properties, one method

These frames are from different properties, not one project, and each is captioned as what it actually is. They are grouped here because the construction underneath them is the same: excavate, compact, bed, lay, restrain, joint. Use the arrows, the ticks or the arrow keys.

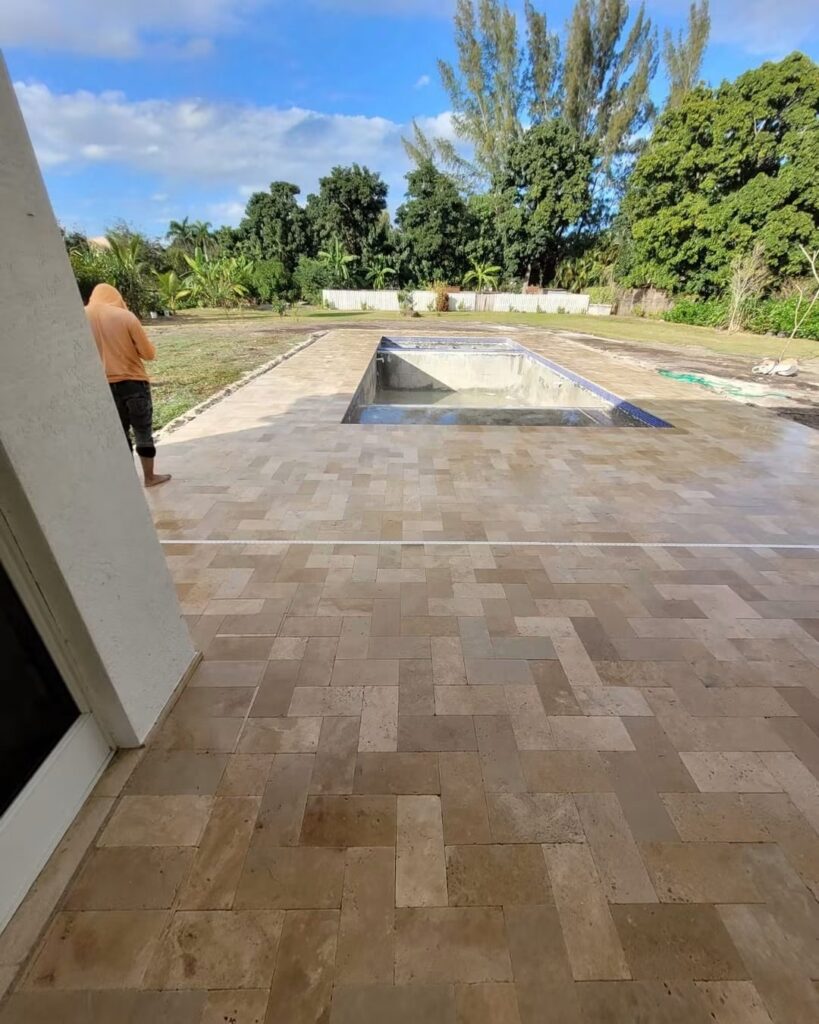
Travertine paver pool deck part-laid and being washed down, with the pool coping set and a hardscape wall alongside
01 · A pool deck, mid-installation

01 / 05

01 · A pool deck, mid-installation

Travertine pavers part-laid around a pool and being washed down. The coping is set first and the field is worked to it, because the coping line is the one everybody looks at and the one that cannot be adjusted afterwards.

02 · A covered terrace

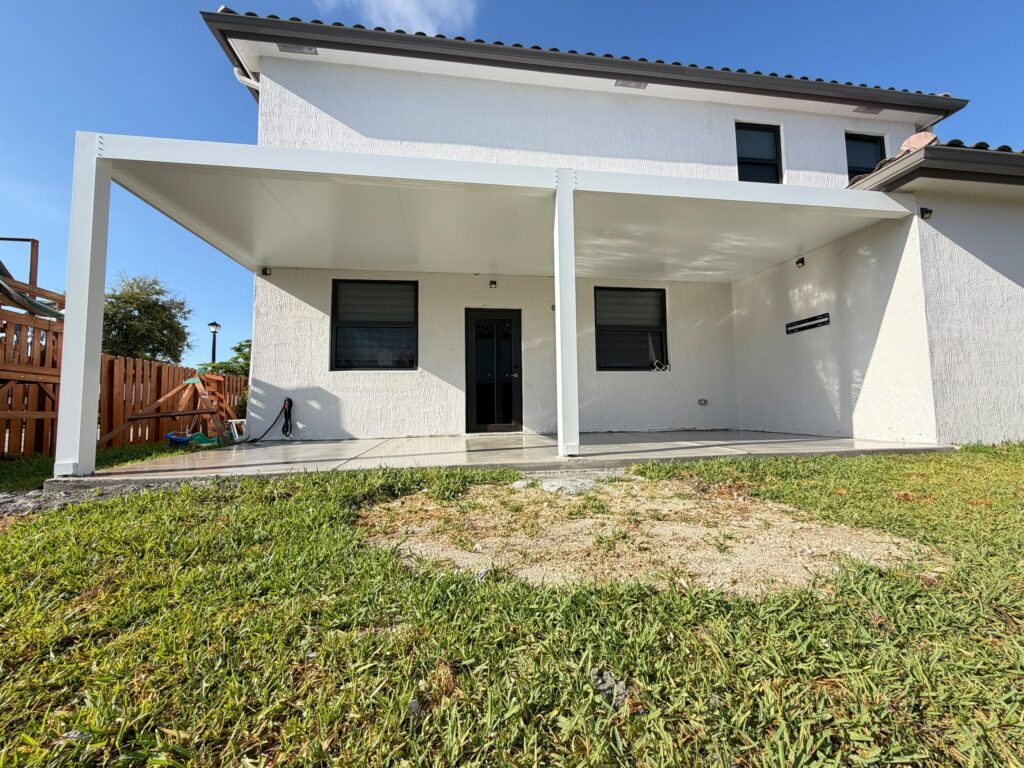
The paver field running the full length of a covered rear terrace, laid up to the house wall and out to the lawn. Under a roof the fall still matters — wind-driven rain reaches most of a covered terrace in a South Florida storm.

03 · Out to the water

A wide paved terrace under a deep covered structure, running out to lawn and a waterway. On a waterfront lot the drainage design has to account for where the water table sits, not just where the fall points.

04 · A driveway, not a patio

Large-format pavers in a running bond with a contrasting soldier-course border. This is a driveway — a deeper base and a heavier paver than a foot terrace, because it carries vehicles.

05 · A circular drive

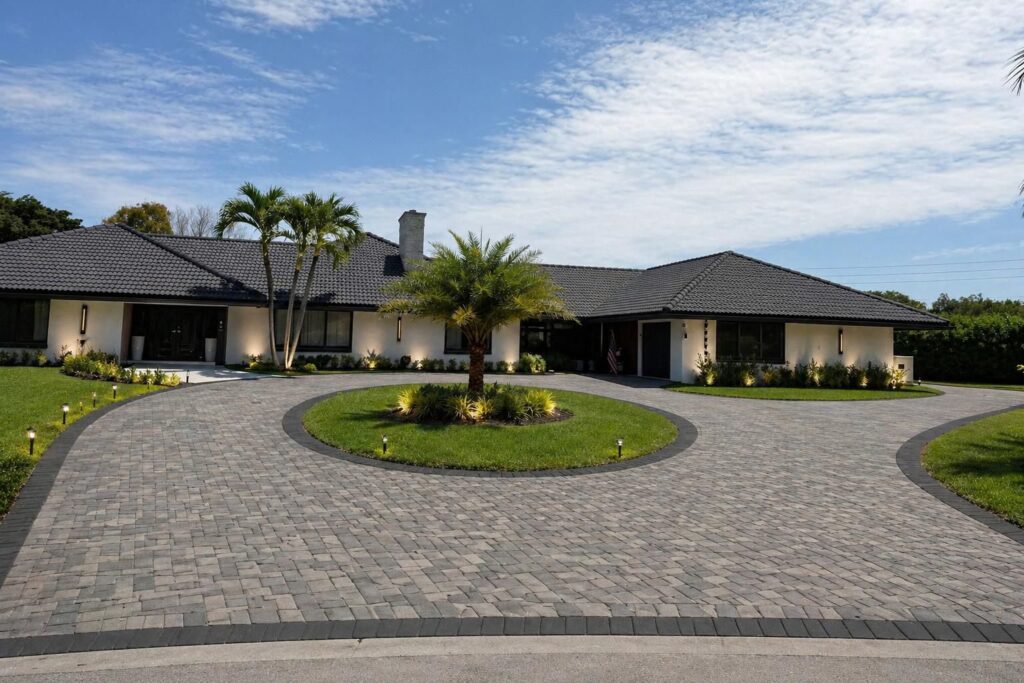
The same construction around a planted island, with the border course following the curve. Curves are where paver work is won or lost: every border unit is cut, and the radius shows any inconsistency immediately.

Want to walk a finished terrace before you commit? We can arrange it.

Frame 04The surfaces, readObserved detail only

Chapter 04 — Reading the work

What the paving frames show.

Observed across several completed surfaces

Every field has a border

Look at the perimeter of each surface. There is a contrasting course running around the edge of the driveways and along the open edges of the terraces. That border is not only decoration — it is where the edge restraint sits, and it gives the cut units somewhere to terminate cleanly.

The pattern is set out, not started

The running bond in these frames stays true across large areas and the cuts fall at the edges rather than in the middle. That only happens if the field is set out from a line first — usually the most visible one, such as a garage threshold or a pool coping.

Coping and thresholds come first

On the pool deck the coping is already set and the field is being worked to it. Fixed elements — coping, thresholds, drains, steps — are established before the field, because the field can be cut to them and they cannot be cut to it.

Materials visible

Travertine on the terraces and pool deck; large-format concrete pavers on the driveways, in a grey and buff blend with a darker border. Different products for different loads: a driveway paver is thicker than a terrace paver for a reason.

Curves are the difficult part

The circular drive and the curved edge are where the work shows. Every border unit on a radius is a cut, and any inconsistency in those cuts reads instantly along the arc. Straight runs forgive; curves do not.

What is not claimed

These frames are from several different properties across the client’s paver work. They are presented as separate surfaces rather than one project, driveways are called driveways, and no city, client, cost or timeline is attached to any of them.

Every paved surface starts with levels and drainage, not with the paver you liked.

Frame 05MaterialsIllustrative · not project photography

Chapter 05 — Pavers, bases and edging

What holds a surface flat for years.

And what each choice asks of you later

Illustrative diagrams

Base

Crushed base and bedding course

The compacted crushed base is what actually carries the load; the thin screeded bedding course above it only levels the pavers. Depth is set by use — a foot terrace, a pool deck and a vehicle driveway are three different specifications.

UpkeepNothing to maintain, but nothing recoverable either if it was built short.

Material

Concrete pavers

Manufactured to consistent dimensions and thicknesses, in formats from small brick-size units to large-format slabs. Thickness is chosen for load: driveway units are meaningfully thicker than terrace units.

UpkeepIndividual units can be lifted and replaced; keep a few spares from the same batch.

Material

Travertine and natural stone

A common choice for pool decks and terraces here because it stays cooler underfoot than dark concrete and reads softer. It is more porous than concrete paving, so sealing and joint detail matter more.

UpkeepSeal on a schedule, and deal with organic staining promptly.

System

Edge restraint

A fixed restraint at every open edge that stops the perimeter courses creeping outward under load. Without it the field spreads and every joint behind the edge opens up — the most common cause of a patio that looks tired within a few years.

UpkeepCheck the perimeter after a few seasons, especially where vehicles turn.

System

Joint sand

Swept into the joints and vibrated home so the units interlock. Polymeric sand stiffens the joint and resists weed growth and washout better than plain sand.

UpkeepTop up joints where they wash out; do not pressure-wash them empty.

System

Drainage and fall

A patio is designed with a slope so water runs off it and with somewhere for that water to go. On a flat lot or against a house that can mean channel drains or a discharge point designed in from the start.

UpkeepKeep channel drains and outlets clear; that is most of paver maintenance.

These panels are illustrative diagrams explaining paver construction in general. They are not photographs of Elbaz Construction work, and listing an option here does not mean it was used on the surfaces shown above.

Concrete, clay or porcelain — easier to choose with someone who has laid all three.

Frame 06Edges and enclosuresDifferent properties again

Chapter 06 — Where a patio meets everything else

Edges and enclosures.

Different properties again

A patio is defined by its edges: where it meets the house, the lawn, a screen enclosure or a level change. These frames show those junctions on other properties.

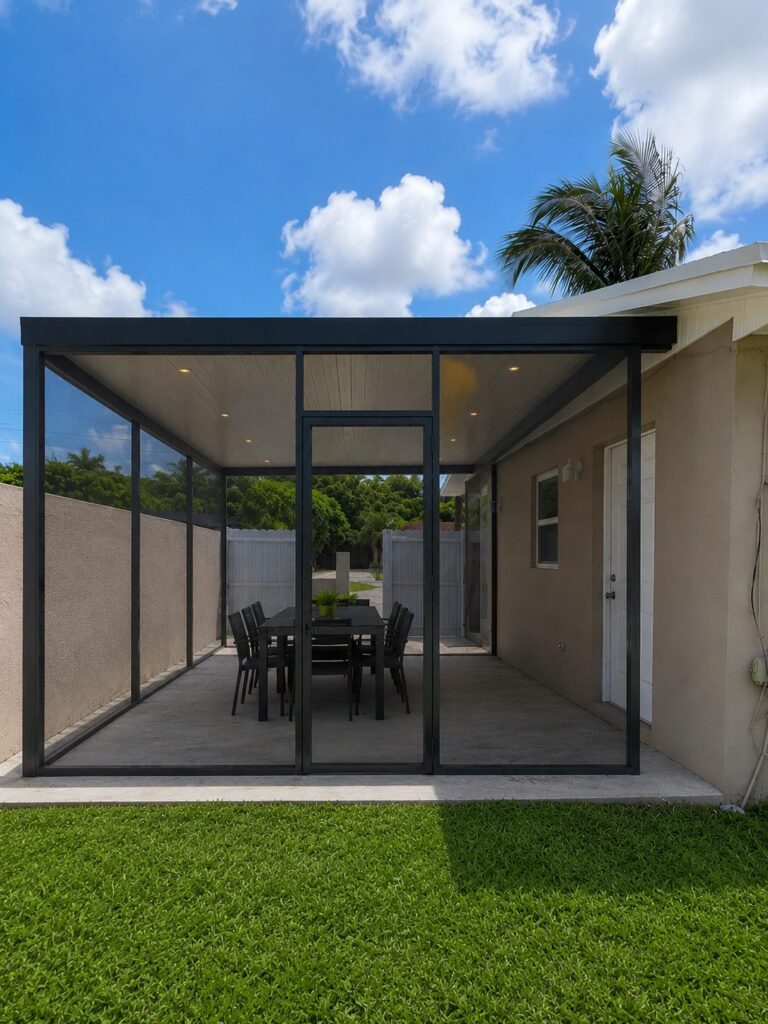
Screened patio enclosure set on a paved slab at the rear of a house, with lawn running up to the edge

01Enclosure

Where a screen sits on the slab

A screened enclosure standing on a paved surface. Where an enclosure is planned, its footing and fixing points have to be established before the paving goes down — retro-fitting anchors through a finished paver field is possible but never as clean.

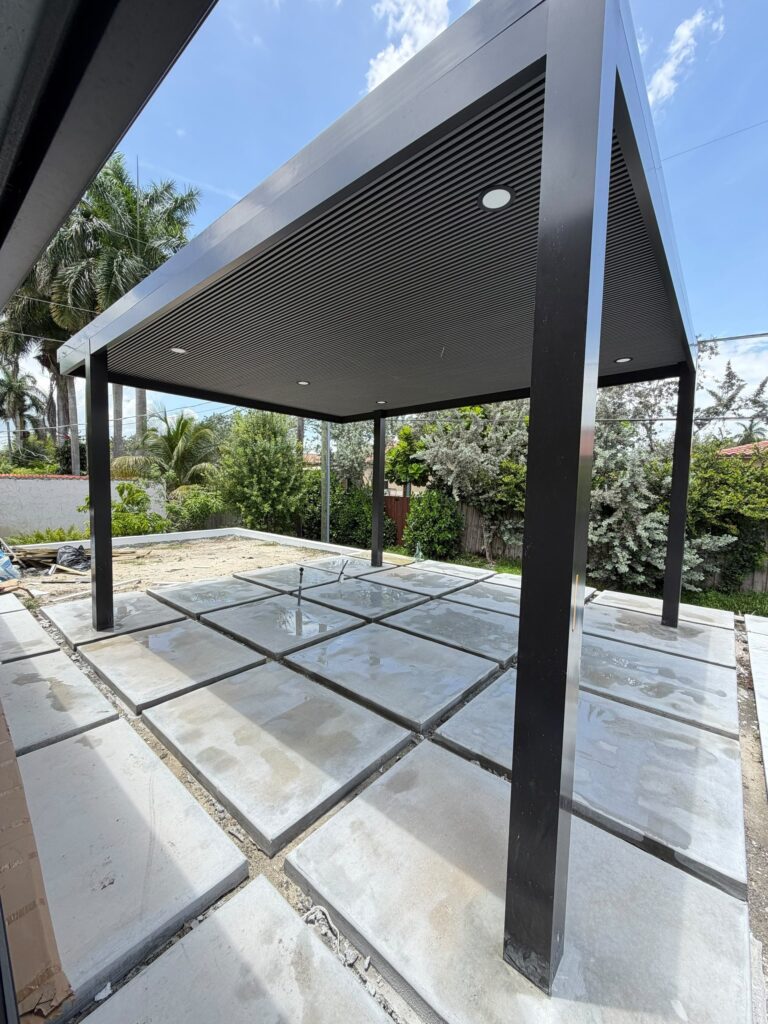
Rear covered terrace over a paved surface, with the field running out beyond the roof line to the yard

02Transition

Under the roof and beyond it

The paved surface continues past the roof line into the open. That transition is where fall and drainage have to be resolved, because the covered half stays dry and the open half takes everything.

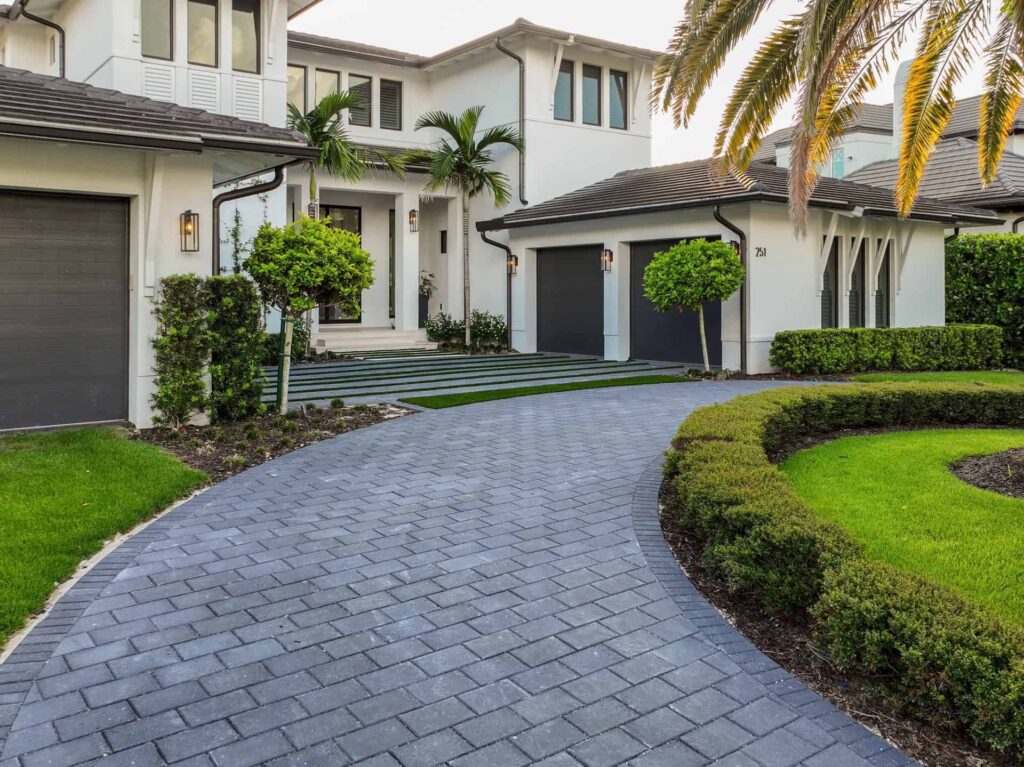
Paver driveway sweeping to a house entrance between clipped hedging and lawn

03Approach

The long view

A paver approach sweeping to an entrance between hedging and lawn. At this scale the pattern reads as texture rather than as individual units, and consistency of colour blend across the whole field is what matters more than any single cut.

Send us the dimensions and photographs, and we will tell you what the base needs.

Frame 07ProcessNine stages

Chapter 07 — Nine stages, in order

How a paved surface is actually built.

Consultation to final walk-through

Consultation

What the surface is for, how it will be used and what it has to connect to — house threshold, pool coping, lawn, driveway, screen enclosure.

You getA licensed contractor, not a call centre.

CheckUse decided before depth, because use sets depth.

Site and drainage review

Levels across the area, where water currently goes, where it needs to go, and whether the lot is flat enough to need drainage designed rather than assumed.

You getA clear answer on where water will run.

CheckFall and outfall established before layout.

Layout and material selection

Paver format, colour blend, pattern and border, plus the set-out lines the field will be built from. Thickness is chosen for the load the surface will carry.

You getSamples on site, in daylight, before ordering.

CheckPaver thickness matched to use, not to price.

Written scope

Excavation depth, base build-up, bedding, edge restraint, joint sand and what happens to the spoil. Excavation and disposal are the lines people forget.

You getA scope that names the base build-up, not just the paver.

CheckSpoil removal quantified up front.

Excavation

The area is dug out to the design depth, with existing surfaces broken out and removed and the formation checked before anything goes back in.

You getThe hole inspected before it is filled.

CheckFormation checked for soft spots before base goes down.

Base and compaction

Crushed base laid and compacted in layers to the design depth, then the bedding course screeded to a consistent thickness across the whole area.

You getBase compacted in lifts, not in one pass.

CheckEach lift compacted before the next is laid.

Laying and cutting

Field laid to the set-out from the governing line, with cuts taken at the edges and border courses run to every open edge and around every curve.

You getCuts at the edges, not through the middle.

CheckPattern checked against the set-out line as the field runs.

Restraint, jointing and compaction

Edge restraint fixed at every open edge, joint sand swept and vibrated in, and the field compacted so the units lock together.

You getEvery open edge restrained, including against lawn.

CheckJoints filled and re-topped after the first compaction.

Clean, seal and handover

Final clean, sealing where the material and the client want it, and guidance on joint top-up and drainage maintenance.

You getA surface handed over clean and jointed, not just laid.

CheckFinal walk with you, along every edge.

We handle the excavation, the base and the compaction — the parts you never see.

Frame 08ApprovalsPlanning, permits, inspections

Chapter 08 — What is actually required

Permits, drainage and coverage.

Less than people fear, more than nothing

Paving is one of the trades where the honest answer is often "no permit for the paving itself" — but there are real exceptions in South Florida, and they are worth knowing before work is scheduled.

An at-grade patio is often exempt

A ground-level patio slab or paver field, with nothing structural built over it, is commonly permit-exempt in the tri-county area. We will tell you when that is the case rather than invent a process.

Anything with a roof is not

A pergola, roof or screen enclosure over the paving requires a permit with engineered plans. The paving may be exempt while the structure over it is not.

Impervious area and lot coverage

Many municipalities limit how much of a lot may be covered by impervious surface. A large paver field can push a property over that limit, which is a planning question rather than a building one and is worth checking early.

Drainage cannot go next door

Redirecting run-off onto a neighbouring property or into the street is not acceptable. Where a large area is being paved the drainage design may need to keep water on the lot.

Right-of-way and driveway aprons

The section of a driveway between the property line and the road usually sits in public right-of-way and is permitted separately by the municipality or county, even where the private driveway is not.

Pool decks and barriers

Paving around a pool interacts with barrier and safety requirements. Changing levels or removing a section of deck can affect an existing barrier arrangement.

Flood zone considerations

On flood-zone parcels, significant hardscape can interact with drainage and elevation requirements. It is checked rather than assumed.

HOA and architectural review

Many communities regulate paver colour, format and layout, particularly for anything visible from the street. That review is on its own calendar.

Existing utilities

Irrigation, low-voltage lighting, pool lines and services frequently run under the area being excavated. They are located before digging rather than found during it.

Closeout

Any permitted element signed off, product documentation handed over, and the joint and drainage maintenance guidance that keeps the surface working.

Permit requirements vary by municipality and by what is being built. Nothing here is a determination for your property — we confirm what applies before work is scheduled, including when the honest answer is that nothing is required.

Drainage and impervious area can bring a patio into permitting. Let us check your parcel.

Frame 09VariablesCost · programme · decisions

Chapter 09 — What moves the number

Cost, programme and the decisions behind both.

Area, access, drainage and base depth

Fewer variables

Foot terrace

A patio for tables and chairs on stable ground with a clear fall away from the house and a straightforward edge.

  • Shallower base than a driveway
  • Standard terrace paver thickness
  • Simple perimeter and border
  • Usually no permit for the paving
The usual shape of these jobs

Pool deck or terrace

A larger field working to fixed coping and thresholds, often with level changes and a real drainage design.

  • Field worked to existing coping line
  • Drainage designed, not assumed
  • More cutting around fixed elements
  • Sealing decision on natural stone
More moving parts

Driveway or large hardscape

A vehicle-bearing surface, a very large area, or paving that interacts with the right-of-way, an enclosure or a flood-zone requirement.

  • Deeper base and thicker units
  • Right-of-way apron permitted separately
  • Impervious-area limits checked
  • Utility locations confirmed before excavation

Use and base depth

A vehicle-bearing surface needs a deeper base and thicker units than a foot terrace of the same area.

Excavation and disposal

Digging out and carting away the existing surface and spoil is real cost that never shows in the finished job.

Existing surface

Breaking out an existing concrete slab is a different job from paving over turf.

Paver format and material

Large-format and natural stone units cost more than standard concrete pavers, and cut differently.

Pattern and cutting

Curves, radii, borders and herringbone all increase cutting time and waste against a simple running bond.

Drainage design

Channel drains, discharge points and any work to keep water on the lot add scope beyond the paving itself.

Site access

Wheelbarrow-only access to a rear yard changes the labour on every tonne of base and every pallet of pavers.

Level changes

Steps, retaining edges and transitions to existing thresholds are slow, skilled work priced separately from field area.

We do not publish a square-foot rate for paver work, because the paver is not what varies. Two identical-looking patios can differ substantially in price depending on how deep the base has to be, what has to come out first, how far the material has to be carried, and whether drainage has to be designed. We price excavation and disposal, base build-up, the paving, and any drainage as separate lines — so if a number looks high you can see which part of the ground is responsible.

For a number specific to your property, we need the area, the access and the fall.

Frame 10Sequence of workIllustrative diagram

Chapter 10 — The order of work

How a paver patio is built.

Excavation to final compaction

Illustrative diagram

Stage 01

Set out and locate services

The area marked out, levels taken, and irrigation, lighting and pool lines located before any ground is opened.

Stage 02

Excavation

Dig out to the design depth, break out and remove any existing surface, and check the formation for soft spots.

Stage 03

Base in layers

Crushed base laid and compacted in lifts to the design depth — the layer that actually carries the load.

Stage 04

Bedding course

A thin bedding layer screeded to consistent thickness across the whole area, ready to receive the pavers.

Stage 05

Laying the field

Pavers set to the set-out from the governing line, keeping the pattern true across the full area.

Stage 06

Cuts and borders

Edge cuts taken, border courses run around every open edge and radius, and fixed elements worked around.

Stage 07

Restraint and jointing

Edge restraint fixed at every open edge, joint sand swept in and vibrated home, field compacted so the units interlock.

Stage 08

Clean, seal and hand over

Final clean, sealing where appropriate to the material, joints topped up and drainage checked.

An illustrative diagram of the general order of work on a paver surface. It is not a photograph of a project, and depths and details vary with the use, the ground and the material.

If your existing patio is failing, we start with why.

Frame 11On siteWhat to expect while it happens

Chapter 11 — What paving week is like

On the ground.

Assembled from the frames above

Frame 11 · on siteBuilt from the same paver frames used in the galleries on this page — genuine work, moved rather than invented. Nothing here is stock footage.

It gets worse before betterExcavation is the ugly stage. The area will look like a building site for several days before a single paver goes down, and that is the part doing the work.
Access and deliveriesBase material and pavers arrive by the tonne and the pallet. Where they can be dropped, and how far they have to be moved, changes the programme.
MachineryPlate compactors are loud and they run repeatedly. It is worth knowing which days those will be.
Irrigation and lightingLines under the area are located first, and any that have to be moved are agreed rather than discovered.
WeatherHeavy rain during base work is a genuine delay rather than an inconvenience, because saturated formation cannot be compacted properly.
Settling inJoint sand settles after the first rains and is topped up. That is expected, not a defect.
HandoverA cleaned, jointed surface, sealing where it applies, and plain guidance on keeping drains clear and joints full.

Ready to see what this would look like in your garden?

Frame 12QuestionsFAQ and credentials

Chapter 12 — Questions, and why us

What people ask before they pave.

Grouped so you can find yours

Durability

Almost always the base rather than the pavers. A base that was too shallow, or compacted in one thick layer instead of in lifts, consolidates unevenly under load. It cannot be corrected from the surface — the field has to be lifted.

It is a fixed restraint at every open edge that stops the perimeter courses creeping outward. You need it. Without it the field spreads under load and every joint behind the edge opens, which is what makes an older patio look tired.

Weeds germinate in the joint from windblown seed above rather than growing up from below. Polymeric joint sand stiffens the joint and resists that far better than plain sand, and topping up joints when they wash out is most of the prevention.

Water

Enough that water leaves it and does not stand, sloped away from the building. The exact figure depends on the surface and the situation, but "flat" is the wrong answer — it looks right and drains nowhere.
That is exactly the case where drainage has to be designed rather than assumed — channel drains, a discharge point, or grading that keeps water moving and keeps it on your lot rather than a neighbour’s.

Materials

Travertine stays cooler underfoot and reads softer, which is why it is common on pool decks here; it is also more porous and benefits from sealing. Concrete pavers are more consistent, available in more formats and thicknesses, and generally cheaper to repair.

Sometimes, but check the thickness. Driveway units are thicker because they carry vehicles, and using a terrace-thickness unit on a drive is a common and expensive mistake.

Permits

Often not, if it is at grade with nothing structural over it — and we will say so plainly. But a roof, pergola or screen enclosure over it does need one, and some municipalities limit total impervious area on a lot, which a large field can affect.

That part usually sits in public right-of-way and is permitted separately by the municipality or county, even where the private section is not.

Process

Sometimes, if the slab is sound, drains correctly and the resulting level still works at thresholds. Often the honest answer is that breaking it out gives a better and longer-lasting result, and we will tell you which case you are in.

The paving itself is usually the shortest phase. Excavation, disposal and base work take the time, and heavy rain during base work genuinely delays things because saturated ground cannot be compacted.

Maintenance

Concrete pavers do not have to be sealed; sealing mainly affects appearance and stain resistance. Natural stone such as travertine benefits more. Either way it is a choice rather than a requirement.

Individual units can be lifted and replaced, which is one of the real advantages of a paver field over a poured slab. Keep a few spares from the original batch — matching colour years later is the hard version of this.

Still have questions? Ask about the base. It is the part that fails.

Frame 13ReviewsGoogle

Chapter 13 — What clients said

Reviews, quoted as written.

Rated 4.8 from 343 Google reviews at the time of writing.

Frame R1ReviewGoogle
The team was amazing. Did a fabulous job with the landscaping, roofing and backyard renovation. The best contractors I have worked with! Will definitely use this company in the future.

Derpy DayGoogle review

Frame R2ReviewGoogle
Great experience! The team was professional, efficient, and delivered high-quality work on time. They communicated clearly throughout the project and exceeded our expectations. Highly recommend for any construction needs!

AndrewGoogle review

Frame R3ReviewGoogle
We had a good time dealing with Asher and the crew, he went over and above all our expectations and made every effort to ensure that the end result was up to their high standards. Thank you !!

Emmett GiffinGoogle review

Read every review on Google, unedited.

Schedule a Consultation (754) 236-0675
Preferred contact method

We use your details only to respond to this enquiry. No lists, no resale.

Thanks — that came through.

Your enquiry is with the Elbaz Construction team. A licensed contractor will call you back to ask about the lot, the drawings and your timing. If it is easier to talk now, call (754) 236-0675, Sunday to Friday 7am to 7pm.

Frame 14StartConsultation, not a sales visit

Chapter 14 — Start here

Show us the ground.

A site conversation, not a sales visit

The questions that decide a paver project are what the surface has to carry, what is under it now, and where the water goes. None of those can be answered from a photograph of a finished patio you liked. They can be answered in twenty minutes on site.

What happens after you send it

01
We read what you sendYour description, rough dimensions, and photographs of the area as it is now.
02
We call you backA licensed contractor, to ask about use, existing surface and how the lot drains.
03
We walk the areaLevels, existing surface, access, services underneath, and where water currently goes when it rains hard.
04
You get it in writingA scope separating excavation and disposal, base build-up, paving and drainage.

Useful to have ready

  • Roughly how large the area is
  • What is there now — turf, slab, old pavers
  • What it needs to carry: foot traffic, or vehicles
  • Whether you have noticed standing water after heavy rain
  • Whether an HOA reviews hardscape on your property